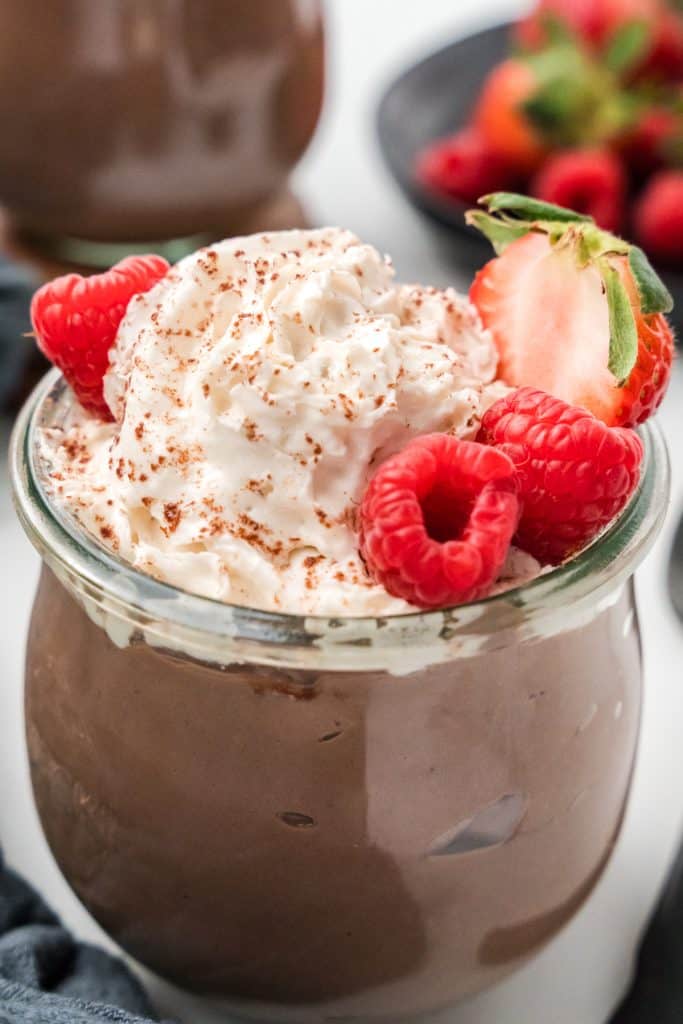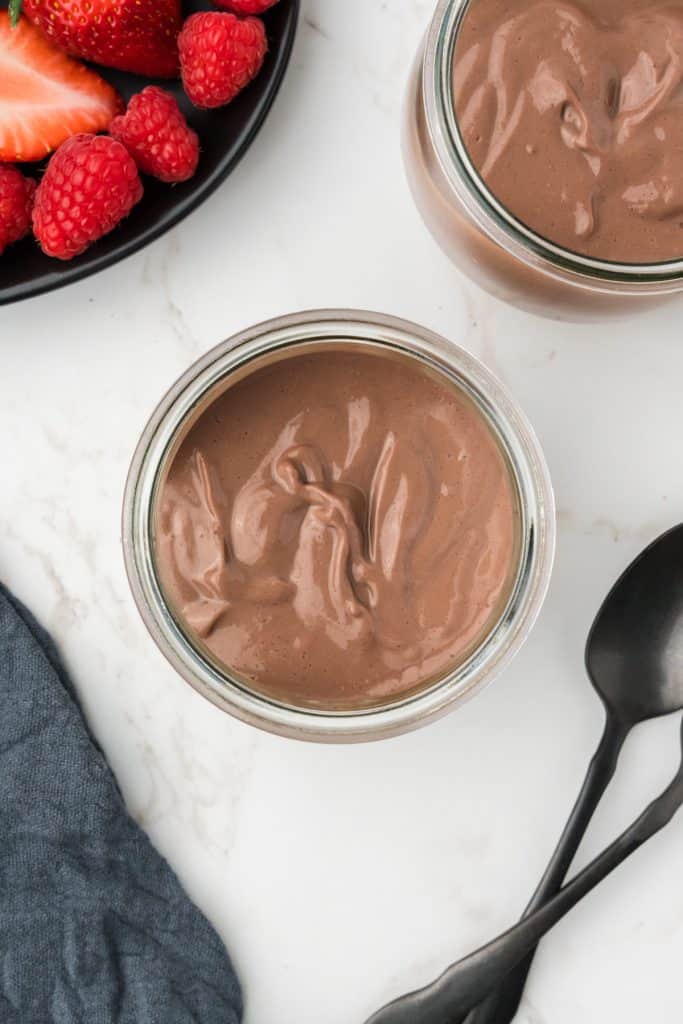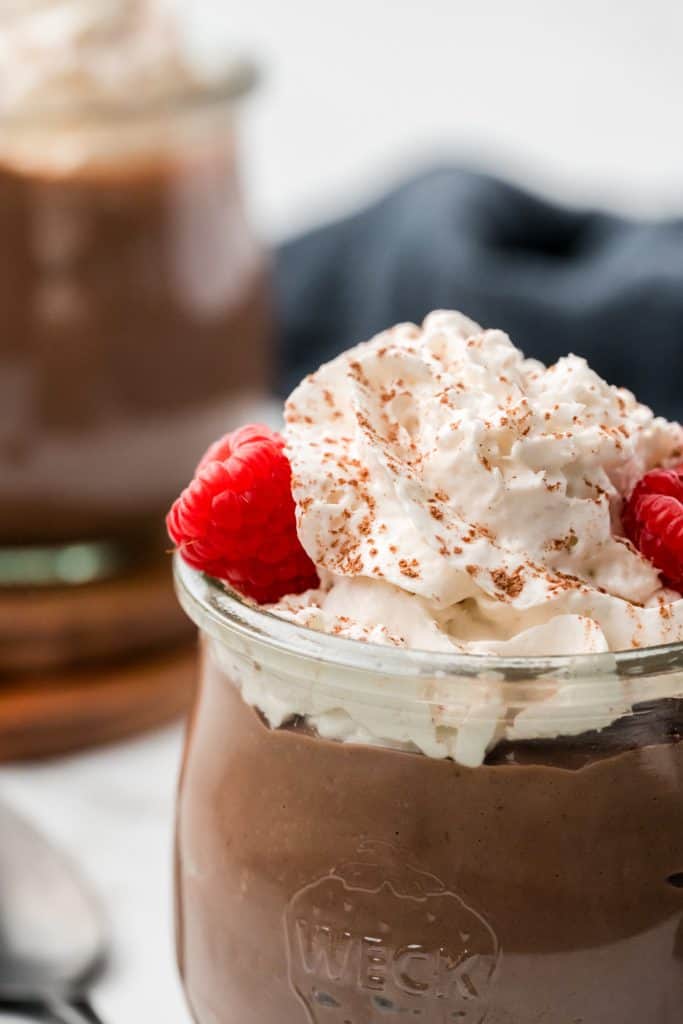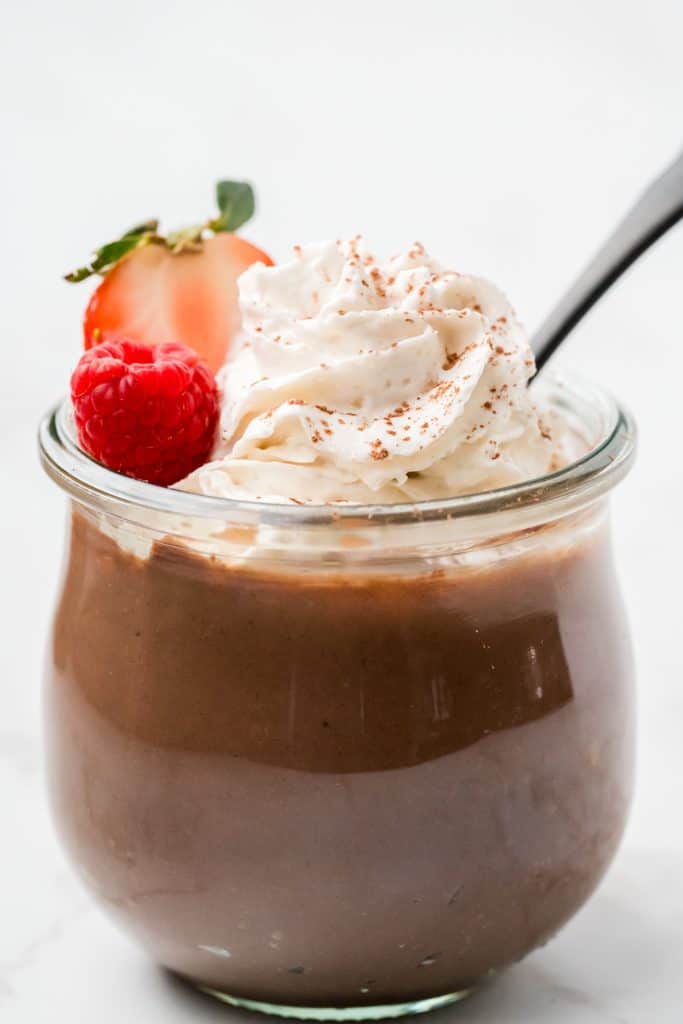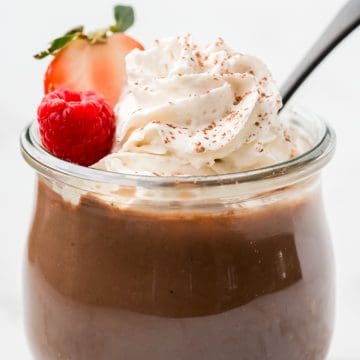
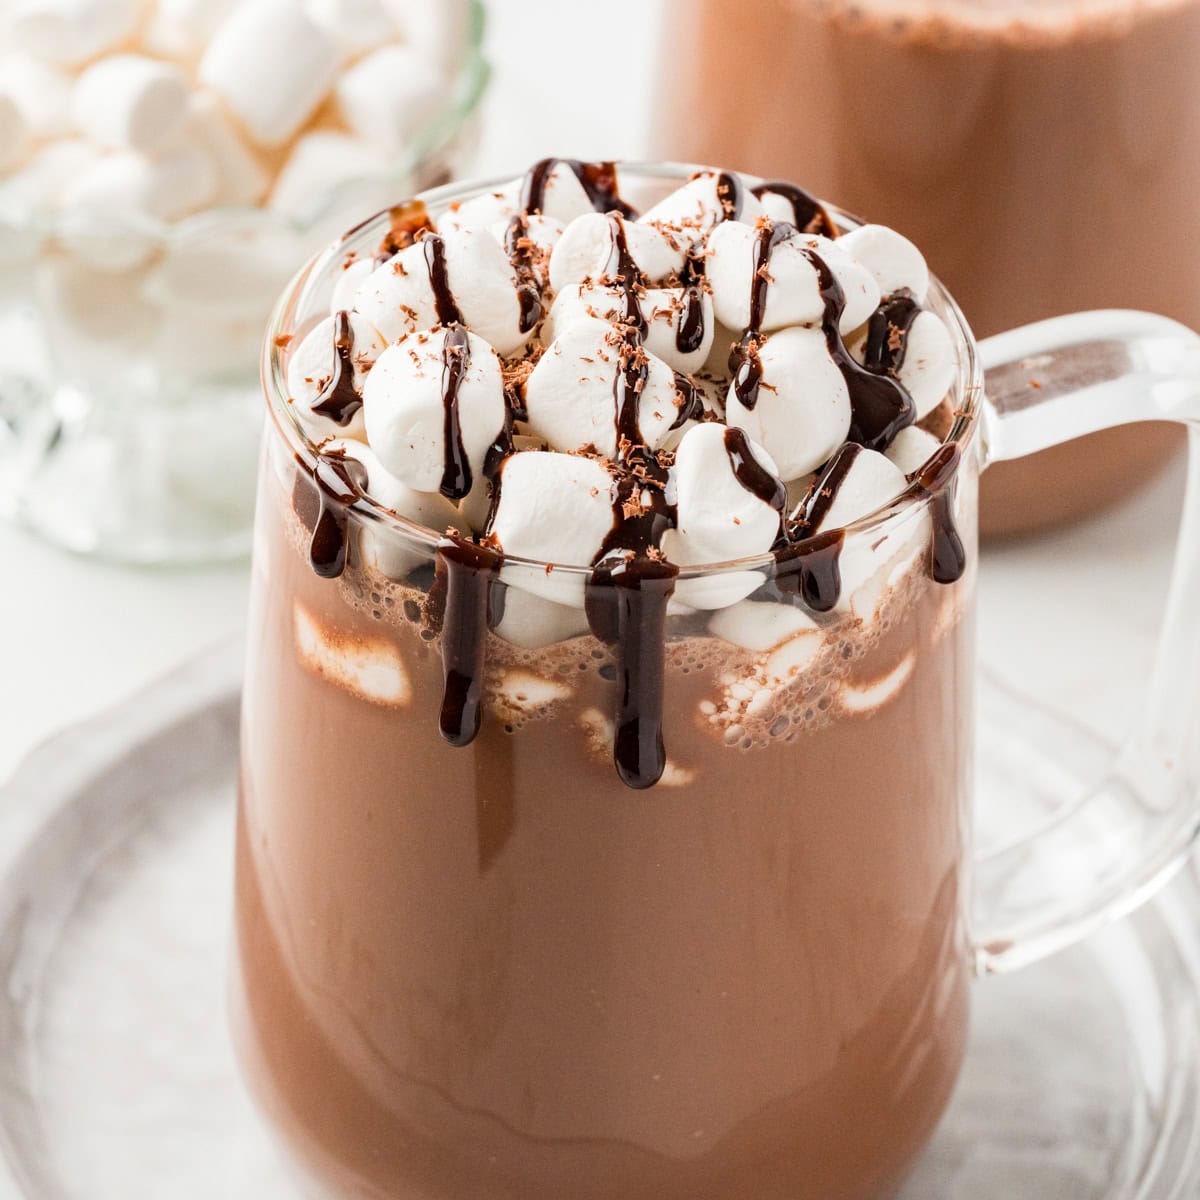
This Dairy Free Hot Chocolate is so indulgent, yet so simple to prepare, that it will become a staple in your kitchen all winter long! You can pair it with a handful of mini marshmallows, some whipped cream, cashew cream, or drink it on its own. If you have been looking for a healthy hot chocolate recipe, you won't want to miss this one!

If you like drinks that taste like dessert, check out this iced pumpkin latte! Or if you are in a chocolatey mood, this silken tofu chocolate mousse is a must! Yum! But nothing beats a cup of hot cocoa on a cold winter day!
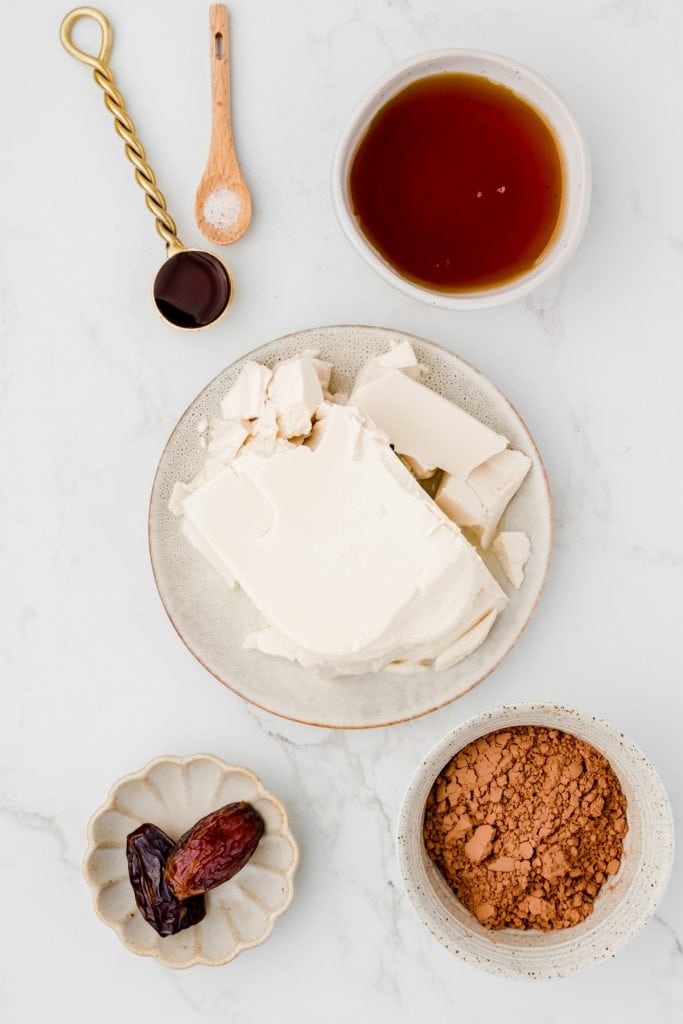
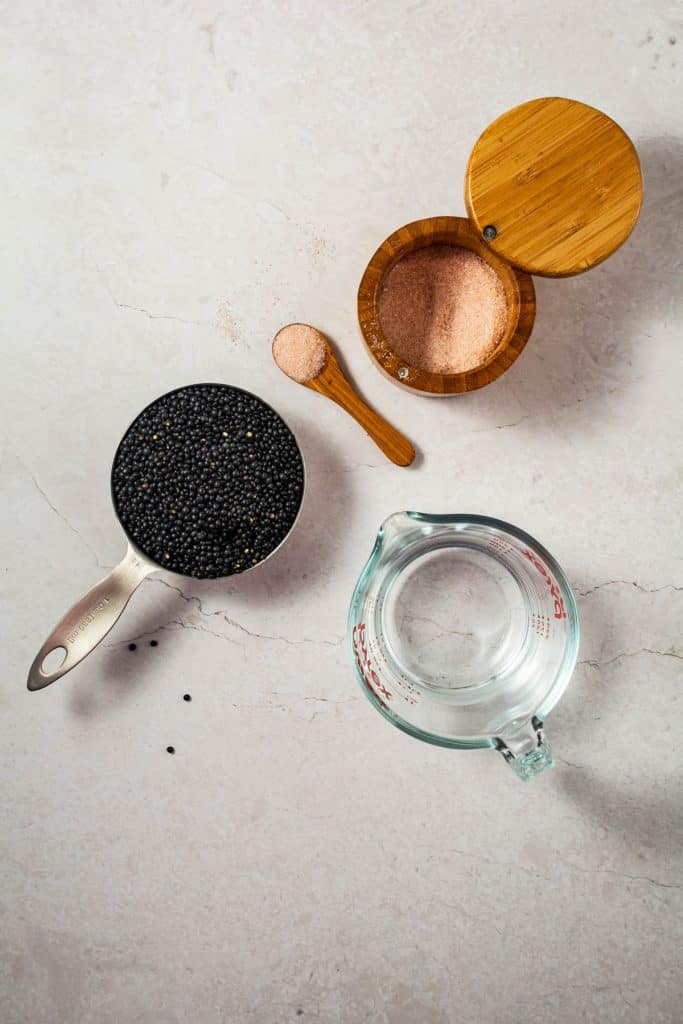
Ingredients
This is the best vegan hot chocolate because of the simple ingredients needed to make it! This recipe doesn't call for chocolate chips or chocolate bars, because we don't feel like it needs it. However, you are more than welcome to melt in some chocolate if you are feeling extravagant!
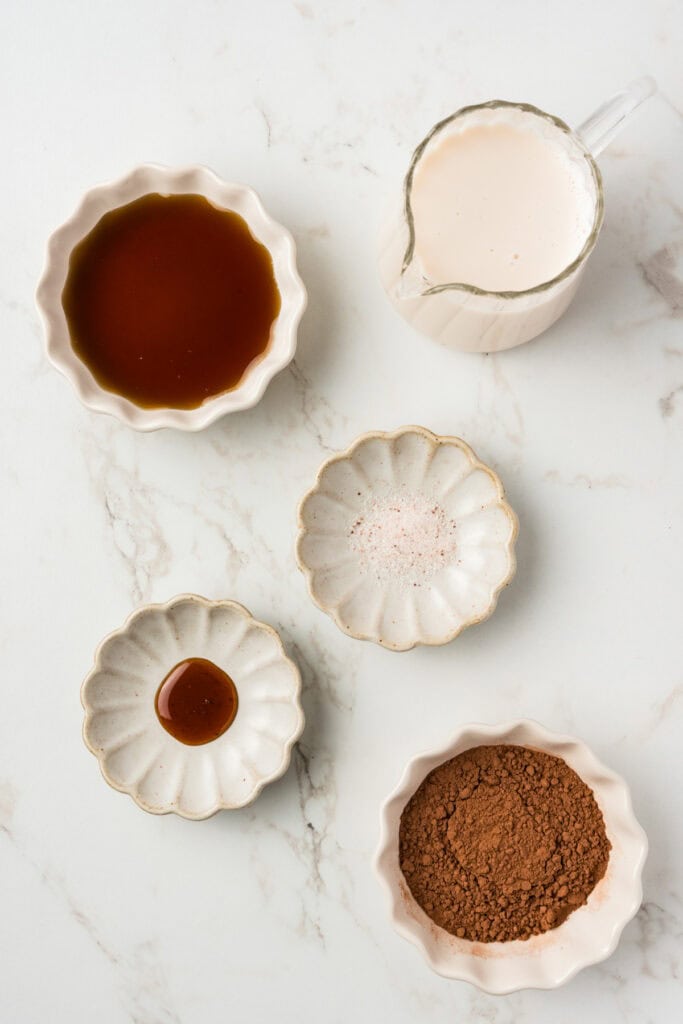
- Plant-based Milk - I particularly love unsweetened almond milk in this recipe. Use whatever dairy-free milk you like the flavor of best. Soy milk, or oat milk, would work well. You can use coconut milk, but keep in mind that your hot chocolate will have a coconut flavor. If you use sweetened milk, you may want to reduce the amount of maple syrup in the recipe.
- Cacao Powder - This is what carries the bulk of the flavor of the hot chocolate. Make sure it is a cacao powder or unsweetened cocoa powder that you like the taste of!
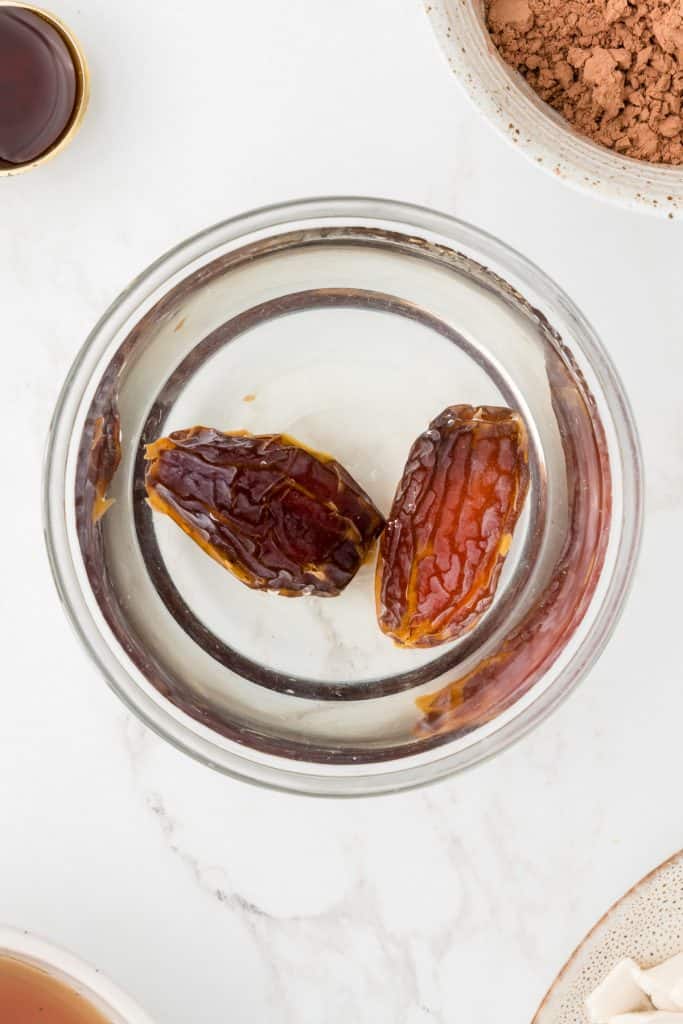
- Pure Maple Syrup - This natural sweetener balances out the bitterness of the cacao powder, creating a delicious drink. You can use blended dates or regular sugar, depending on your preference. If you use granulated sugar (like coconut sugar), you may need to heat the hot chocolate longer to make sure it is dissolved before serving.
- Vanilla - You can use vanilla paste, vanilla powder, or vanilla extract. There is no wrong answer. The vanilla helps to round out the flavor of the chocolate and create a more luxurious mouthfeel. If you do not have any vanilla, you can easily leave it out. If there is vanilla in your milk, you don’t need to add extra.
- Salt - Just a pinch to amplify the flavors!
Directions
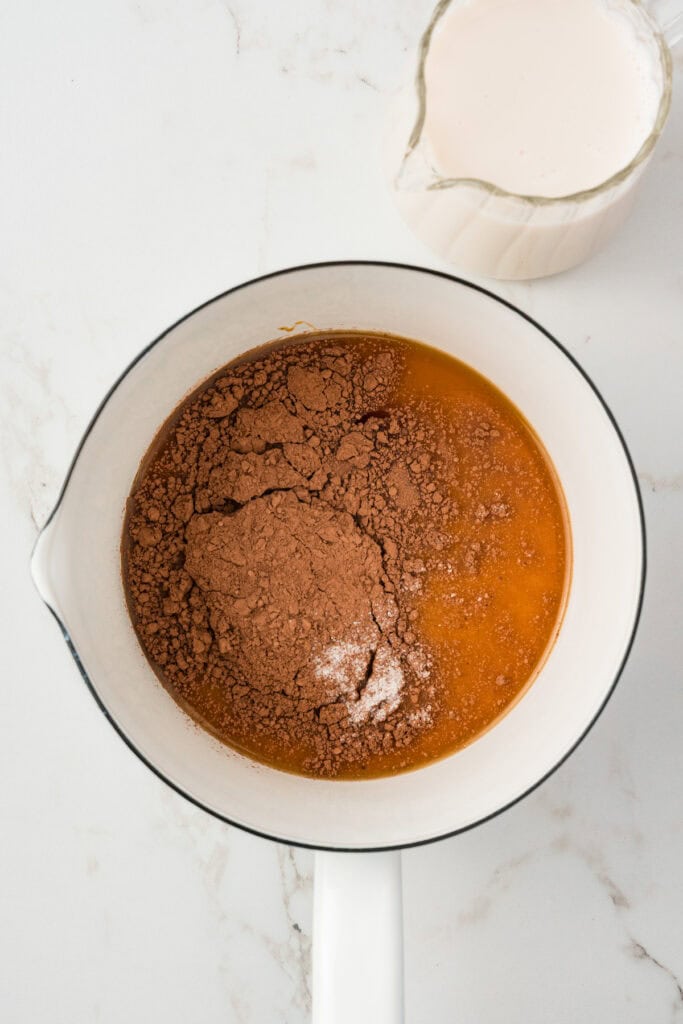
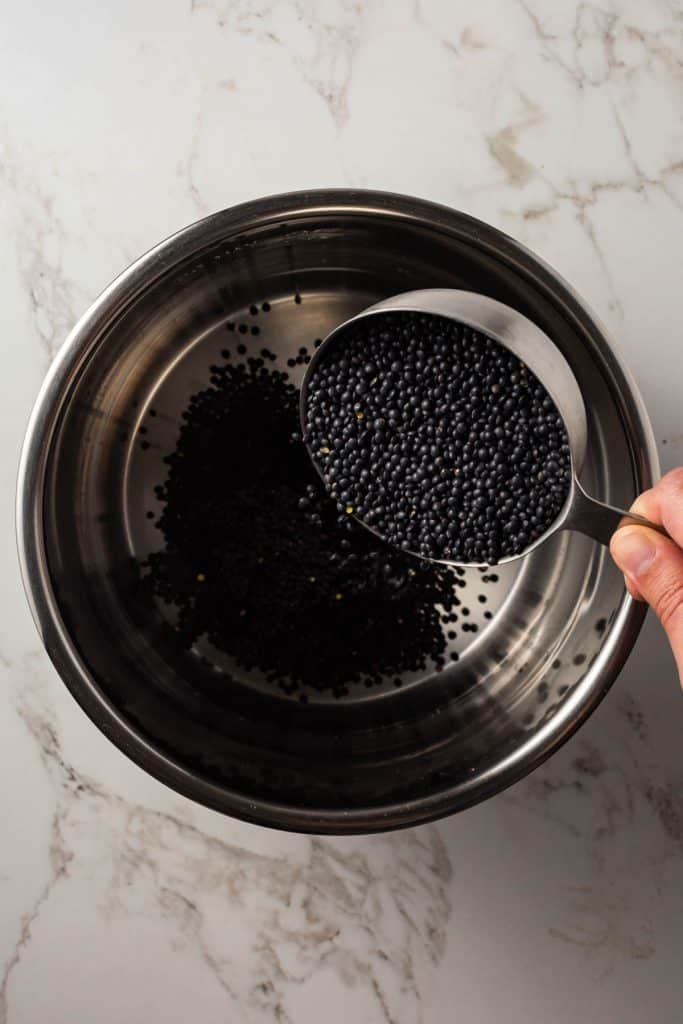
Combine all ingredients in a small saucepan.
Heat over medium heat.
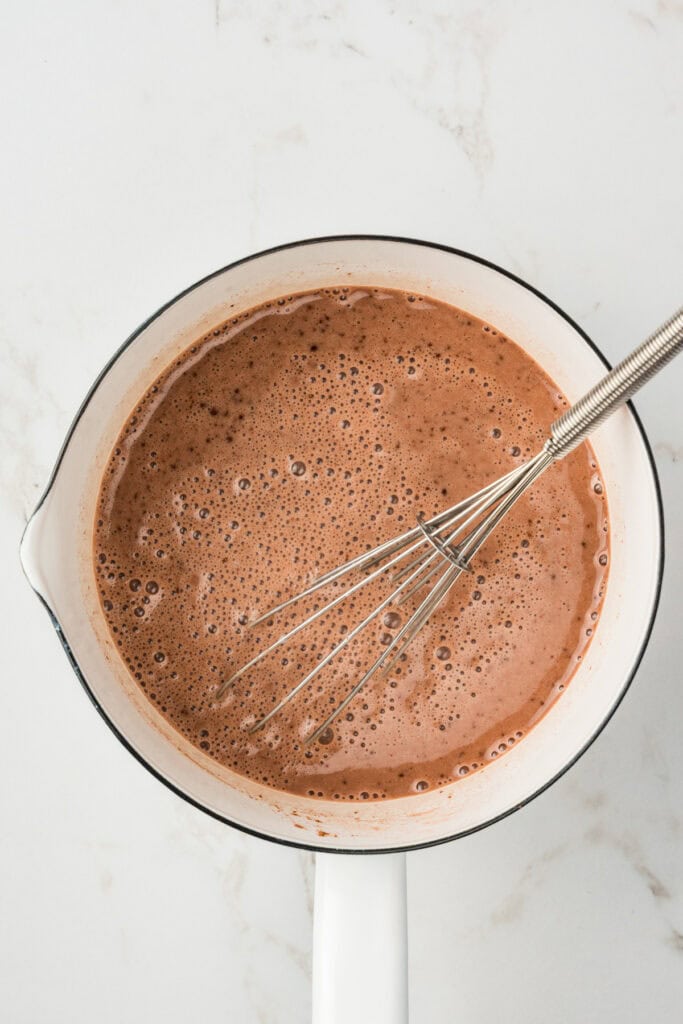
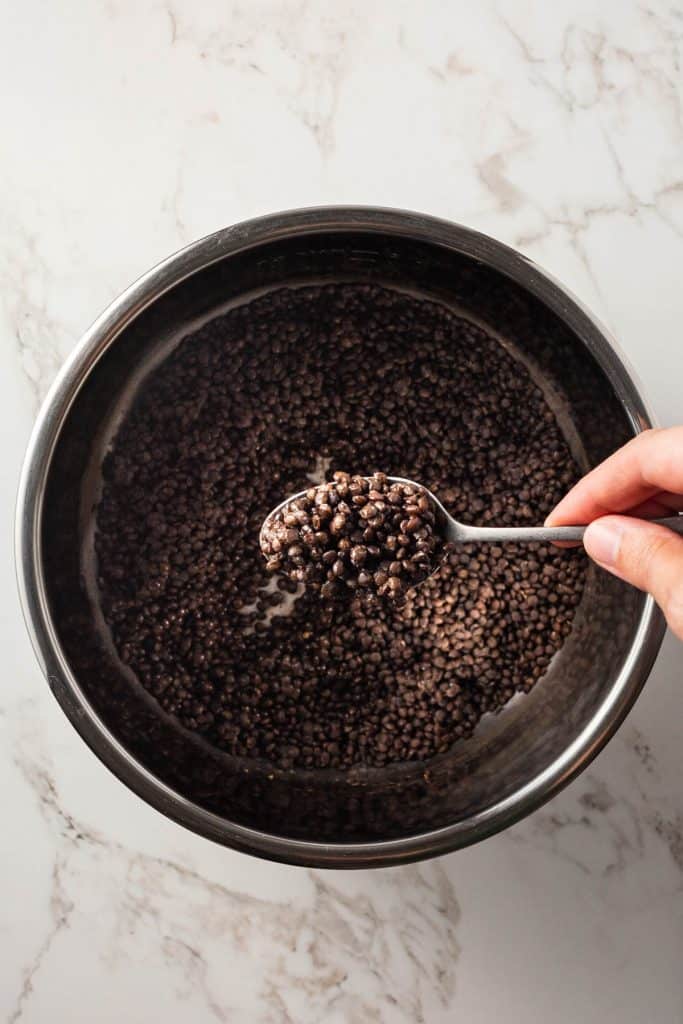
Stir ingredients while heating until thoroughly combined. I often will stir everything but the milk together first, but this isn’t necessary.
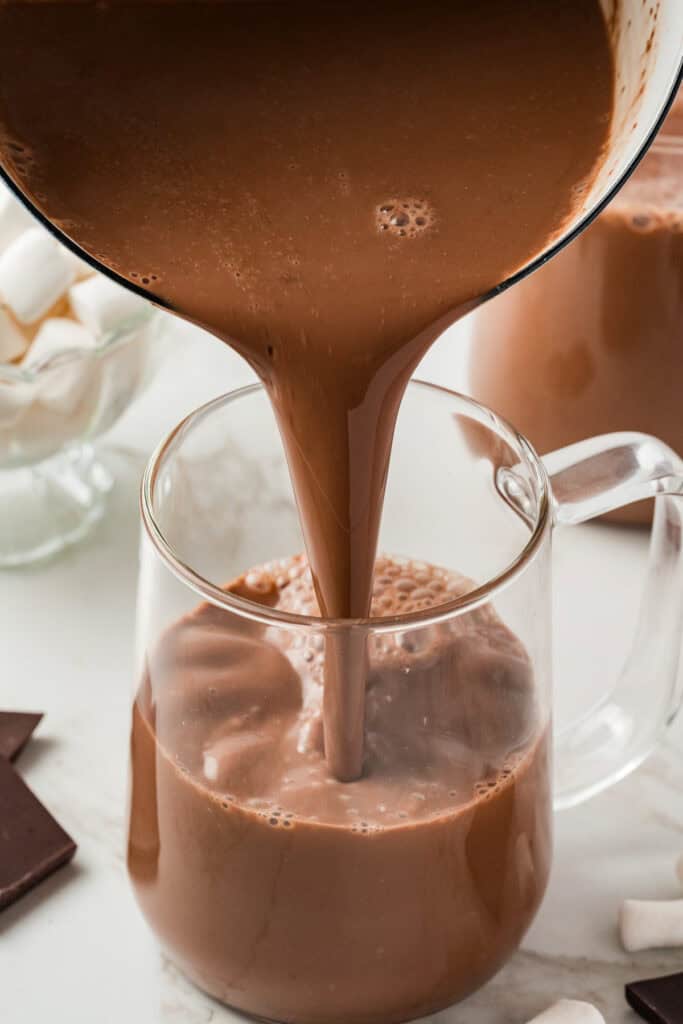
Once the hot chocolate reaches your desired temperature, remove it from the heat and serve.
Variations
The best part about this simple recipe is that you can easily adapt it! Here are some ideas:
- add a drop of peppermint extract or orange extract
- melt in some chocolate chips for some extra decadence
- sprinkle in some cinnamon
Note: If you choose to melt in some additional chocolate (like chocolate chips), make sure to continually whisk your hot chocolate until it is all melted, or the chocolate may burn in the bottom of the pan.

Note: If you would like to scale this hot cocoa recipe for a crowd, it works well in a slow cooker! The classic hot chocolate flavor would be perfect as the base for a hot cocoa bar! Make a big batch and put out all your favorite toppings!
Topping Ideas:
vegan marshmallows
whipped oat cream
cashew cream
peppermint candy
dark chocolate

Dairy Free Hot Chocolate
Ingredients
- 1.5 cup plant-based milk
- 1.5 tablespoons cacao powder
- 3 tablespoons pure maple syrup
- 1 splash vanilla bean paste
- 1 dash salt
Instructions
- 1. combine all ingredients in a saucepan.
- 2. Whisk until well combined.
- 3. Heat over medium heat until it reaches your desired temperature (around 5 minutes).
- 4. Serve and enjoy!