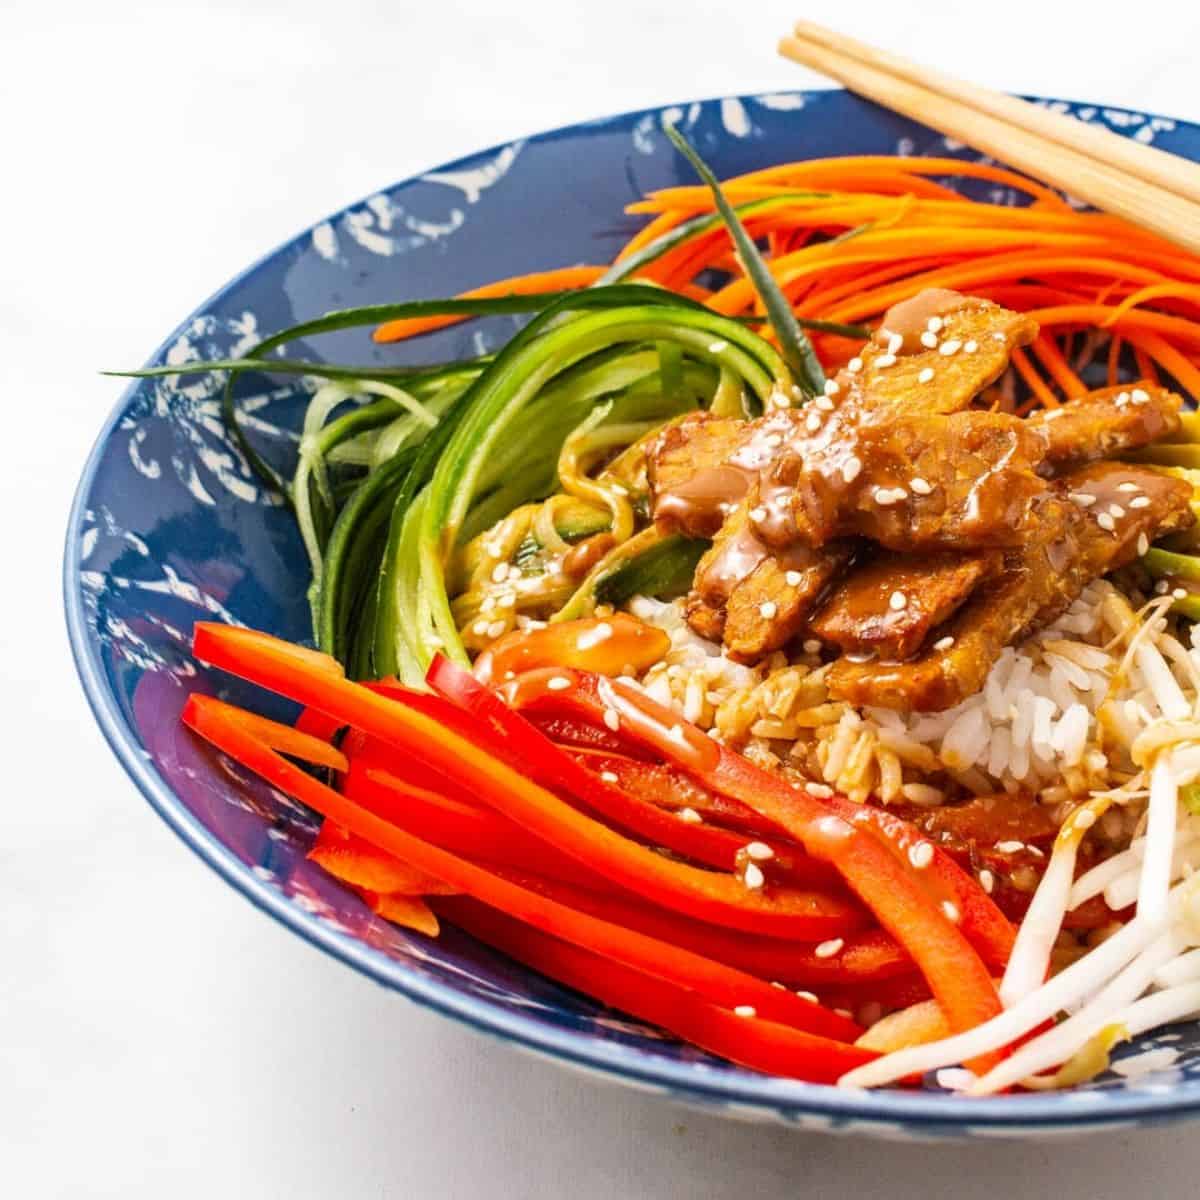
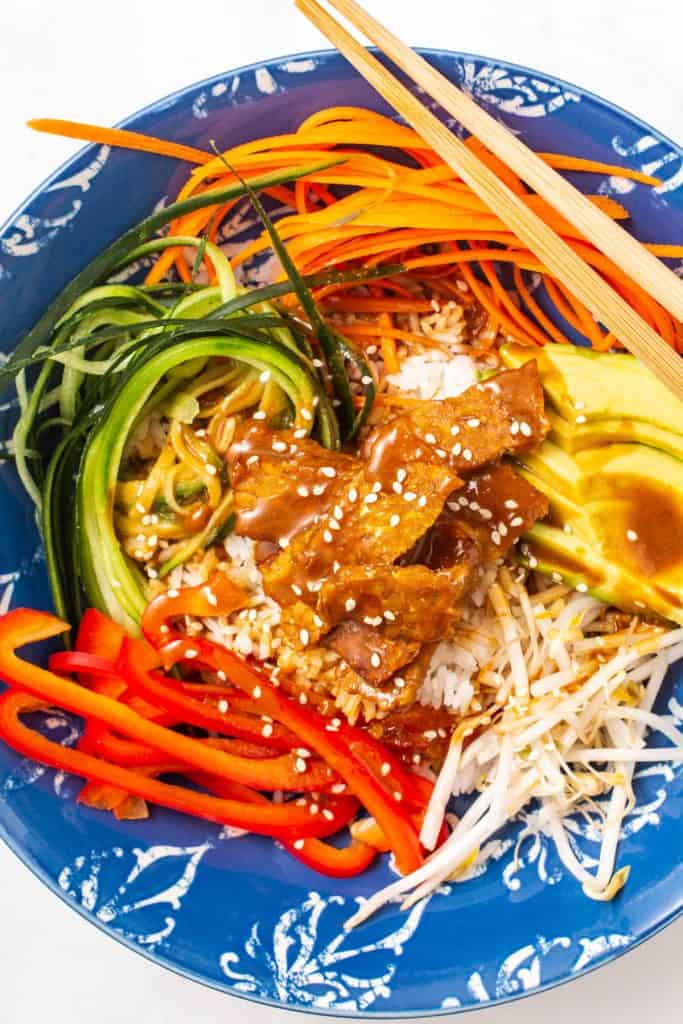
This Asian Buddha Bowl is topped with an easy-to-make peanut dressing that is perfectly sweet and spicy! There are so many options for delicious vegetables that you can’t go wrong. Throw in some rice or other grain along with some protein and you have a well-balanced meal.

What is a Buddha Bowl?
A buddha bowl is basically a whole meal in a bowl with some type of sauce. Other names used to describe this type of meal are grain bowls and nourish bowls.
There are a few different ideas about where the name originates. It might be that the bowl is big and round like the belly of Budai, that the meals in the bowl are meant to be balanced, or from a story that Buddha carried a big bowl with him to fill with vegetables from villagers.
Whatever the reason for its name, The idea is that you want to make your bowl balanced by adding some type of grain, veggies, protein, and a little fat. A delicious sauce to top things off and you are good to go!
With these guidelines the different kinds of buddha bowls you could make are endless!
Jump to:
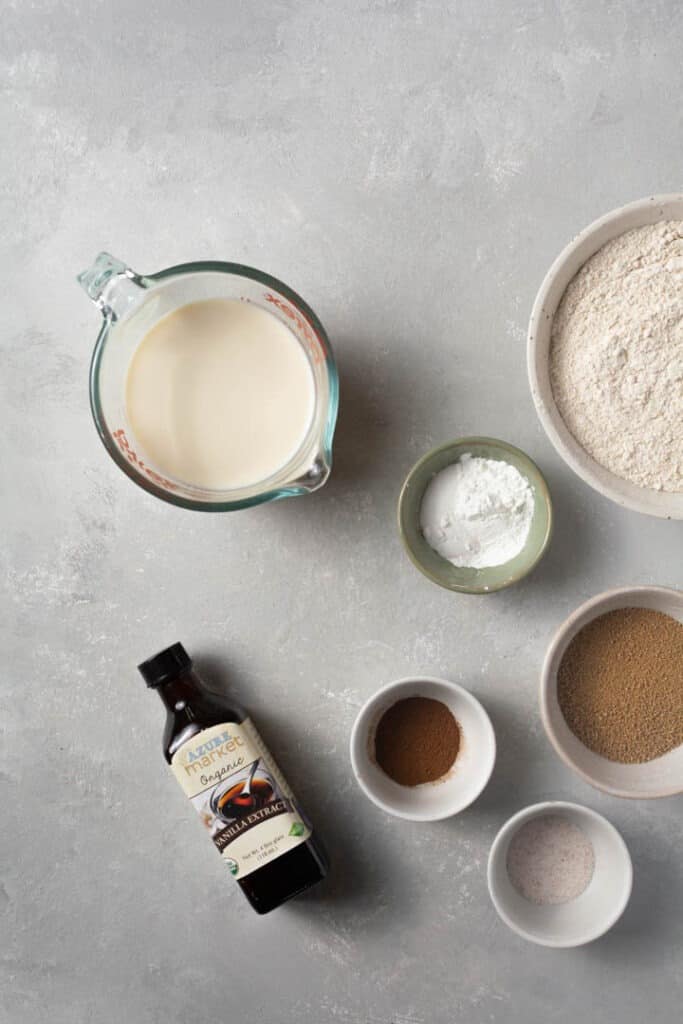
Ingredients for an Asian inspired Buddha Bowl
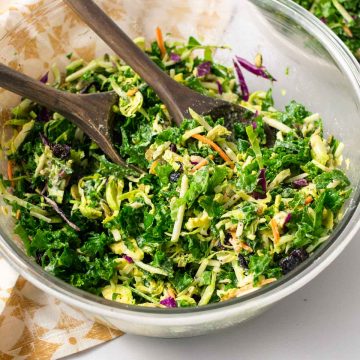
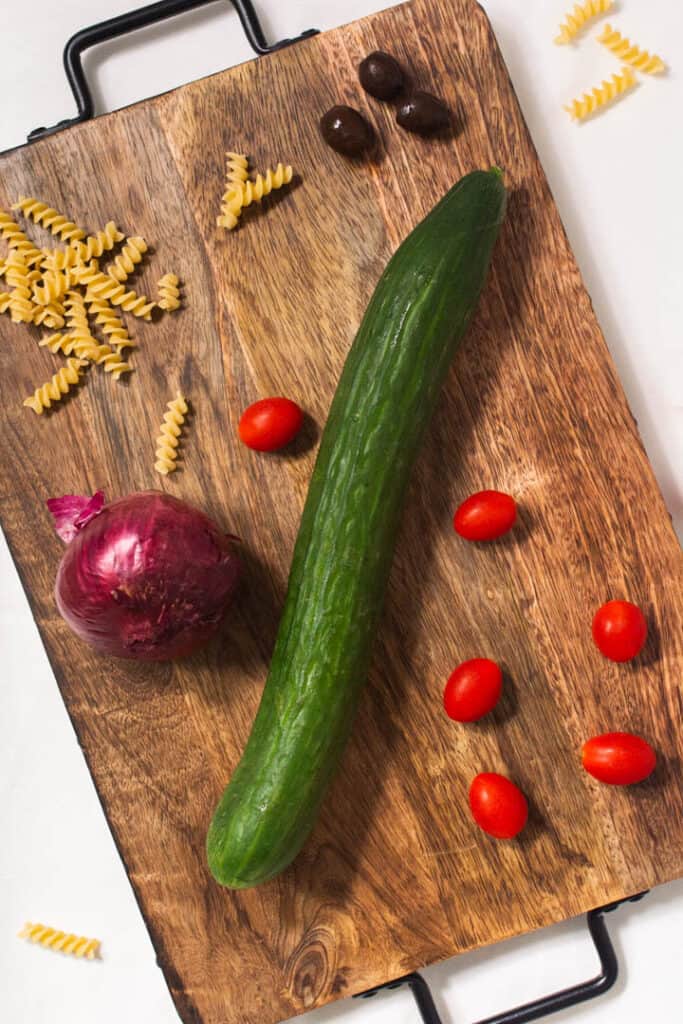
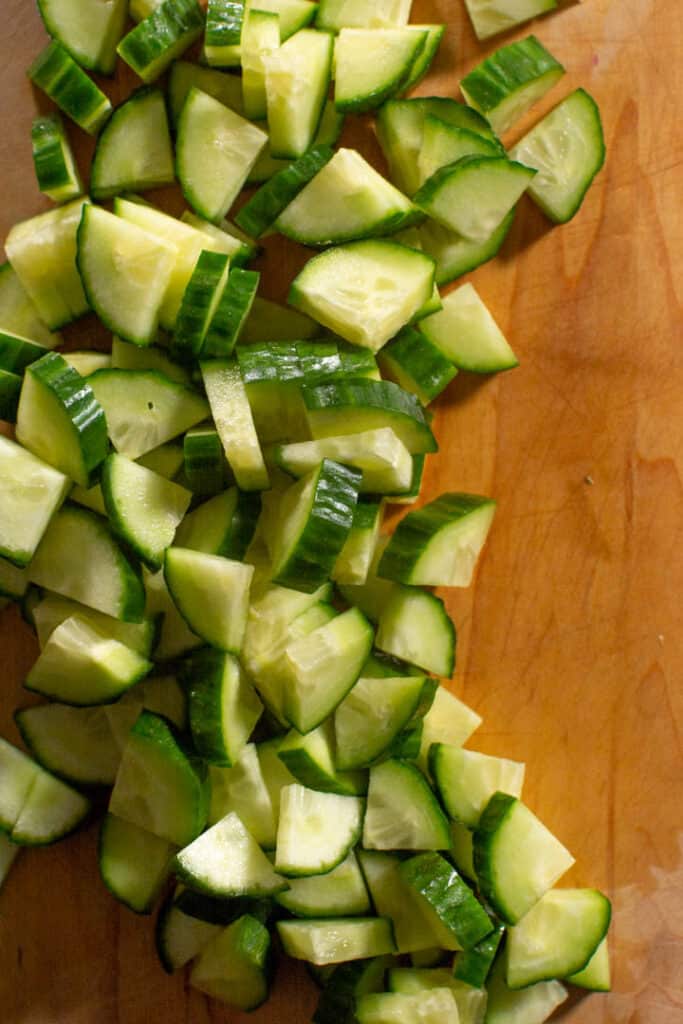
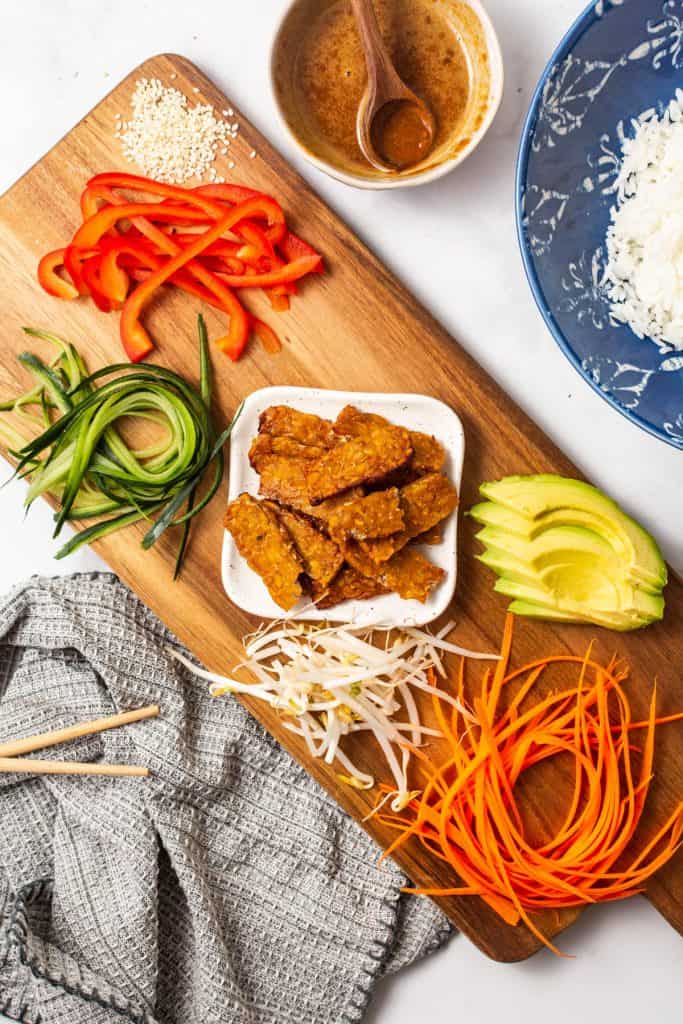
- Vegetables: several different vegetables would be delicious in this bowl. You can customize it easily to your tastes! Here are some of my favorite options: Cucumber, carrot, red bell pepper, bean sprouts, snow peas, and green or red cabbage.
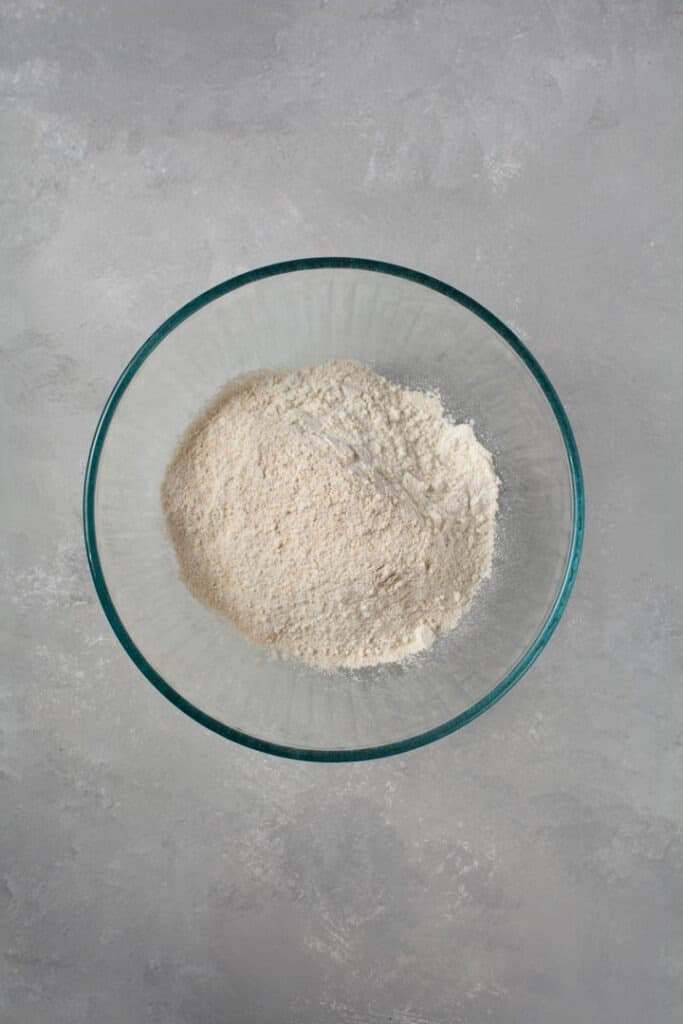
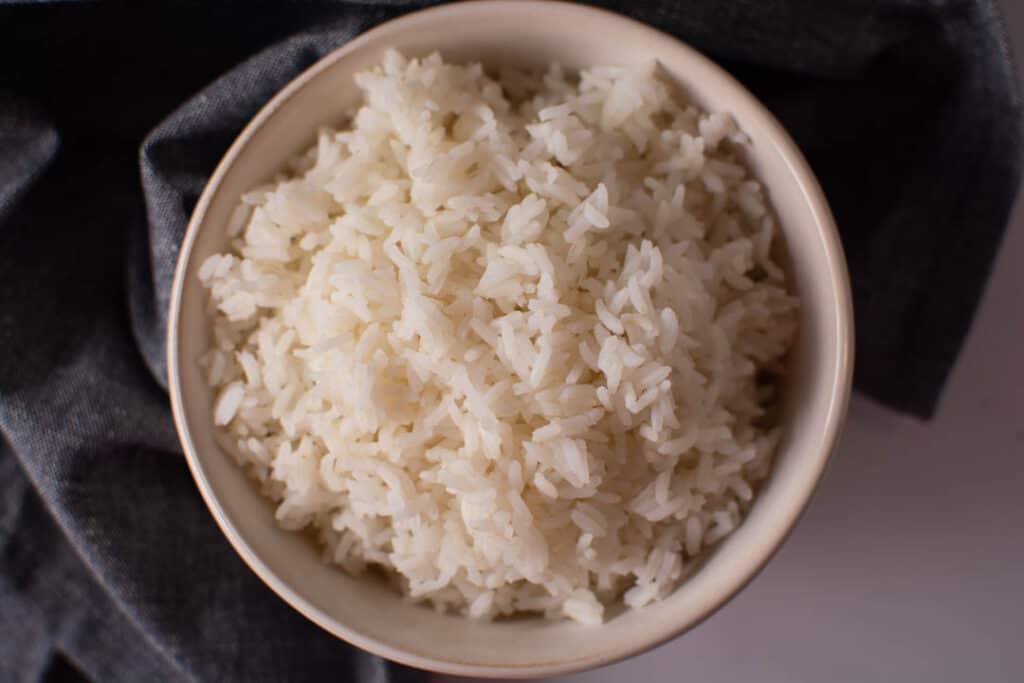
- Grain: I like brown or white rice because it goes well with Asian flavors. But you could use any grain you like.
- Fat: I love adding avocado and sesame seeds
- Protein: I used air-fried tempeh but tofu, edamame seeds, or garbanzo beans would also be delicious!
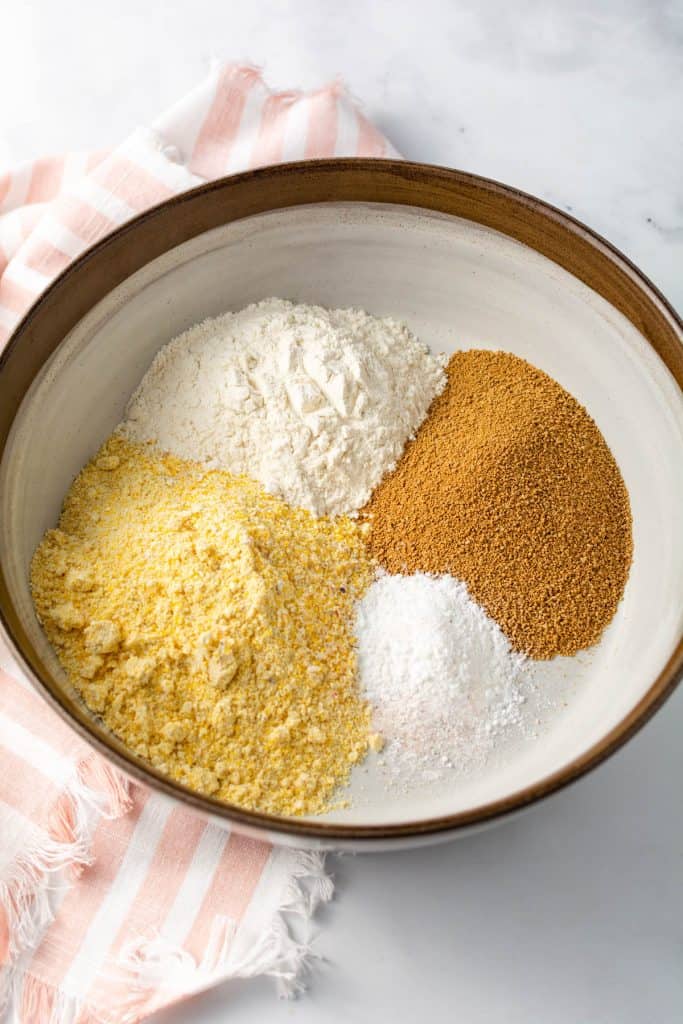
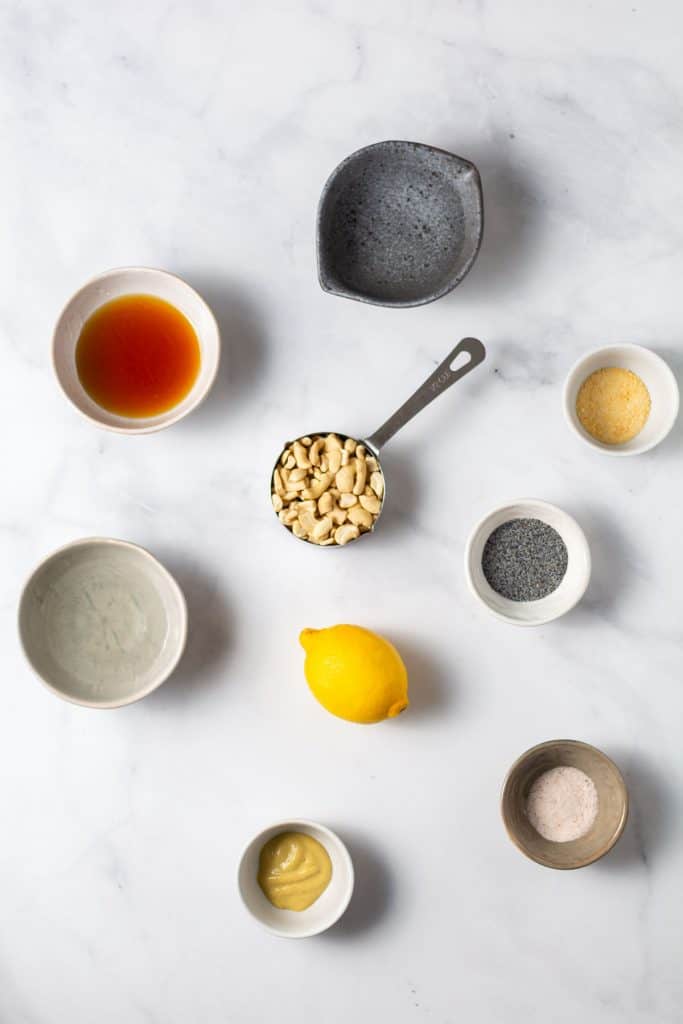
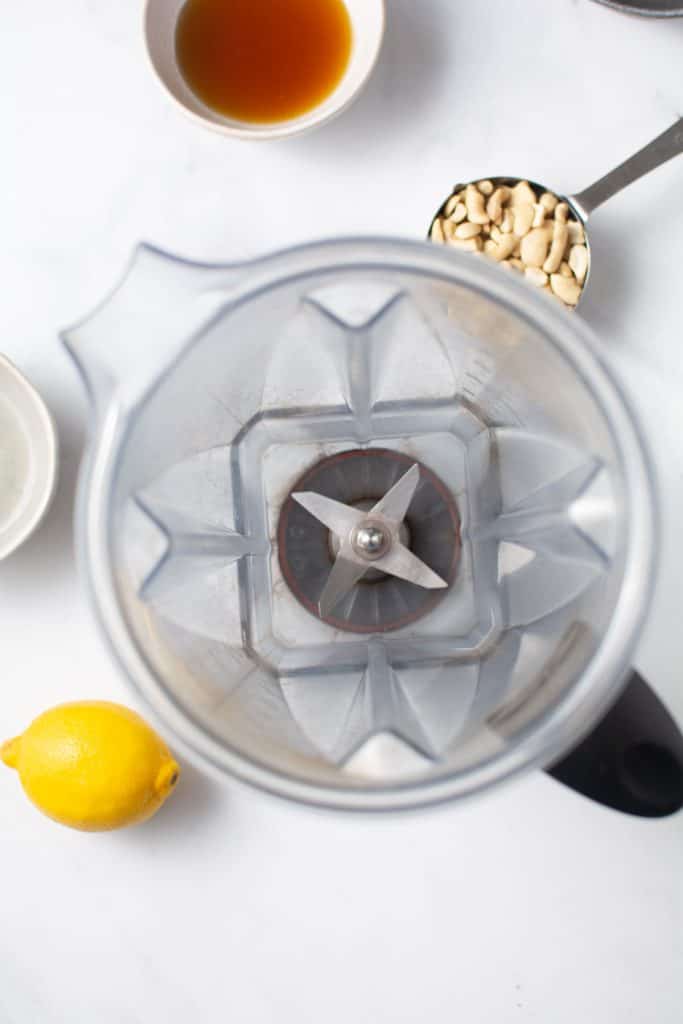
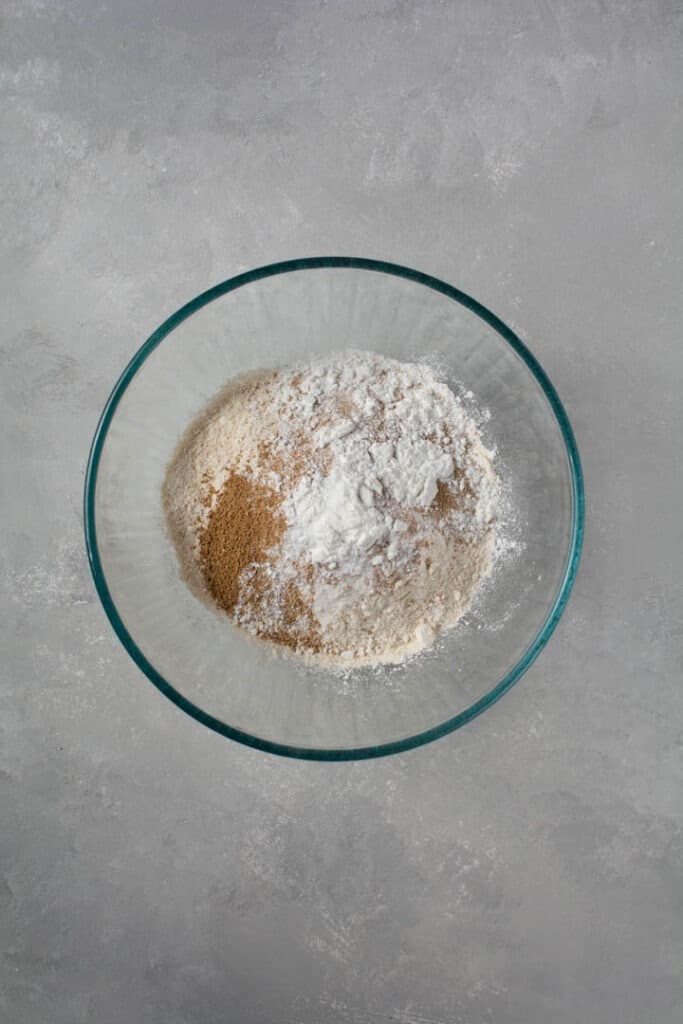
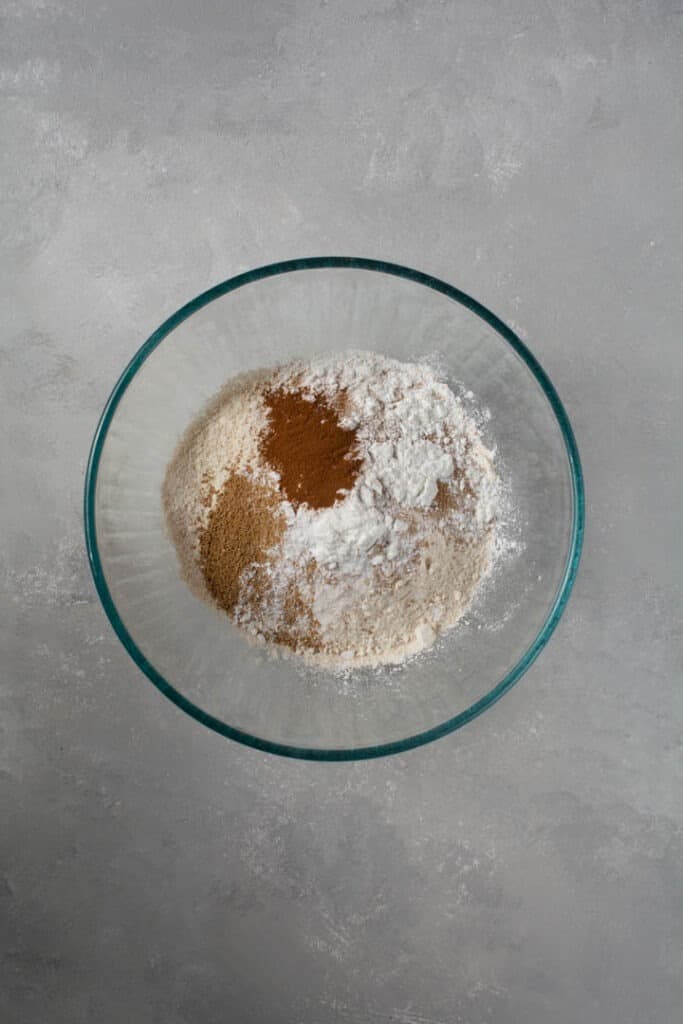
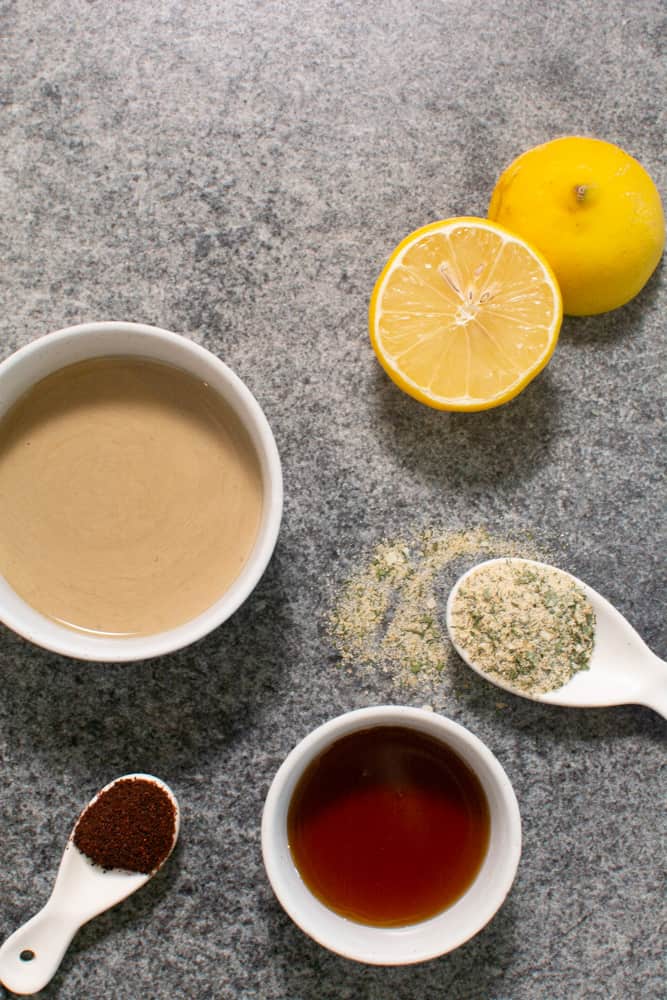
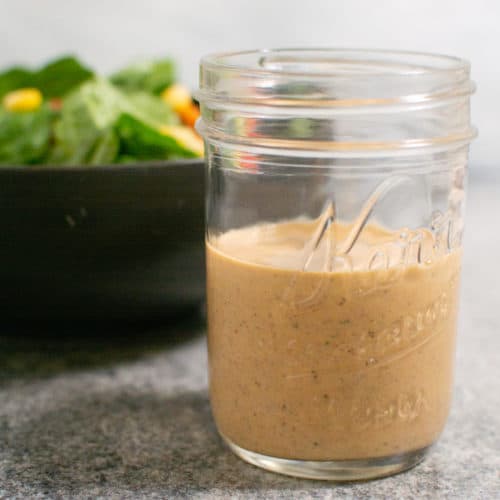
Sauce Ingredients
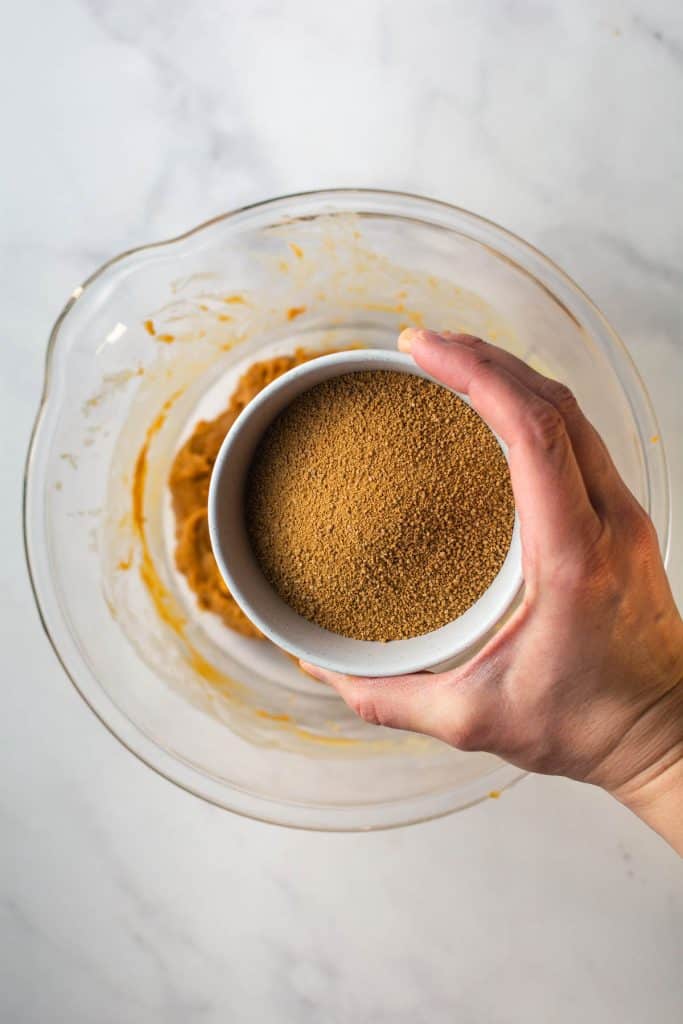
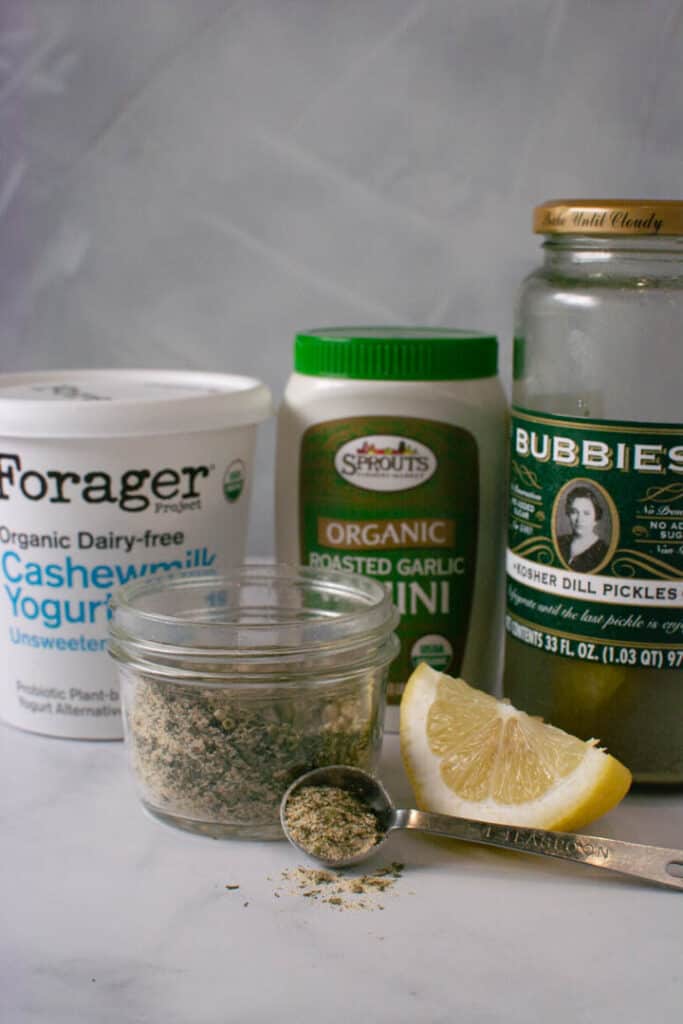
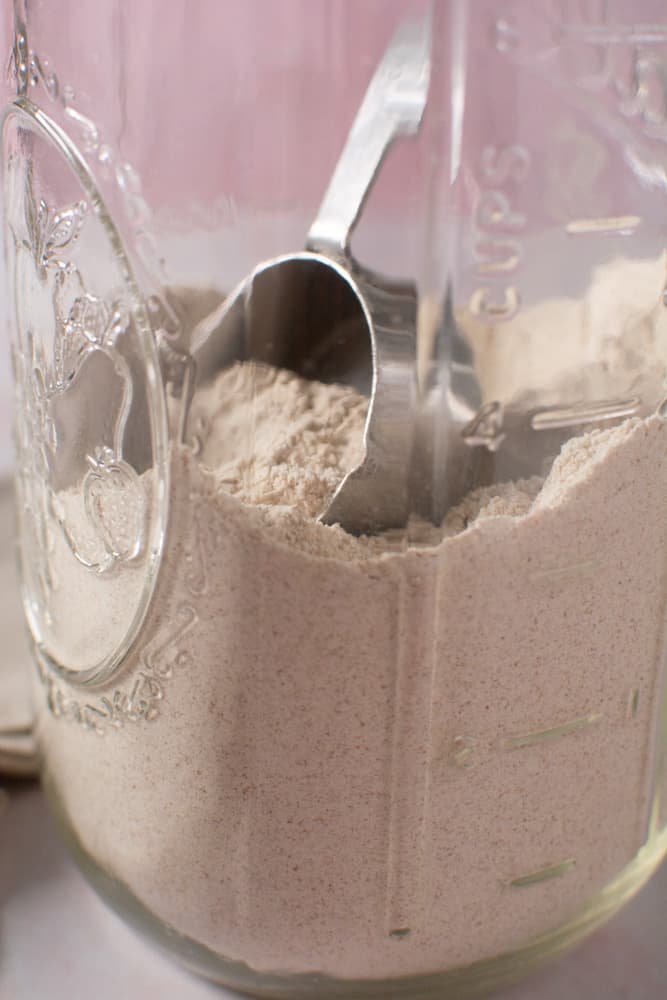
- Peanut Butter Powder: you can also use natural peanut butter.
- Coconut Aminos: Soy sauce or Tamari will work
- Lime Juice: A good alternative would be rice wine vinegar
- Chili sauce: you can also use sriracha or leave it out if you don’t want something spicy
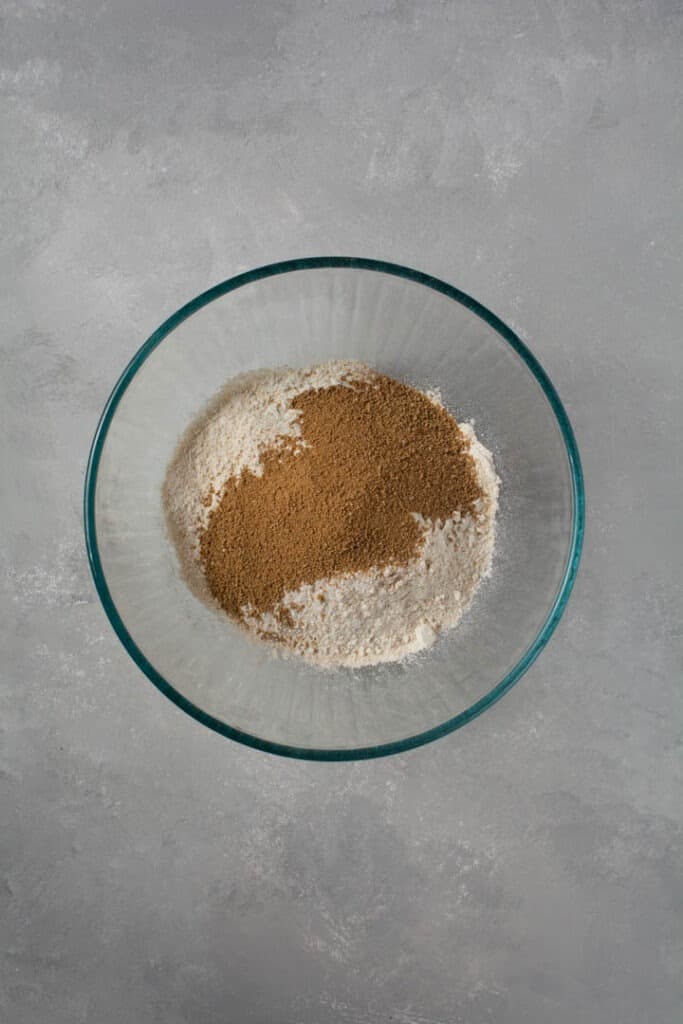
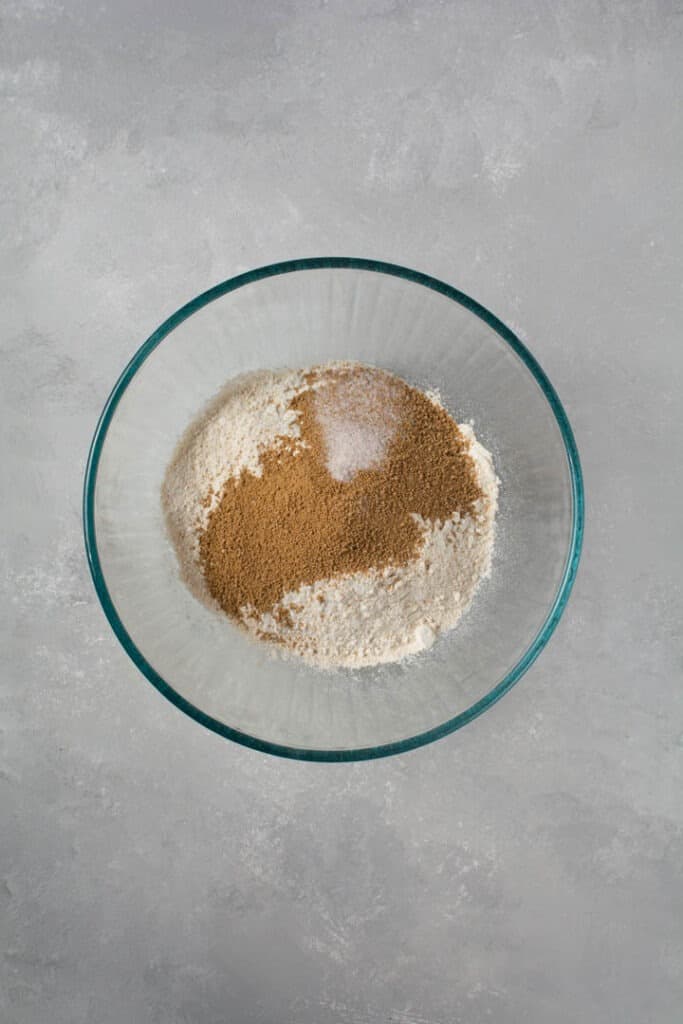
- Ginger: you can use ground or fresh
- Maple Syrup: you can also use agave, coconut nectar, or honey

See recipe card for quantities.
Instructions
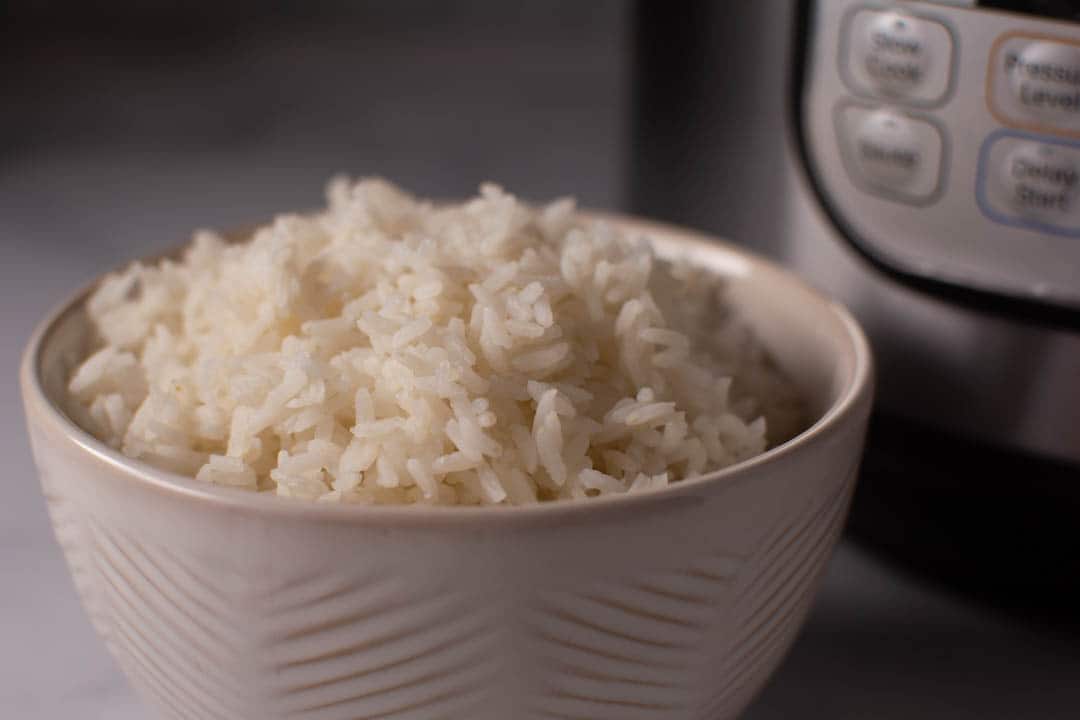
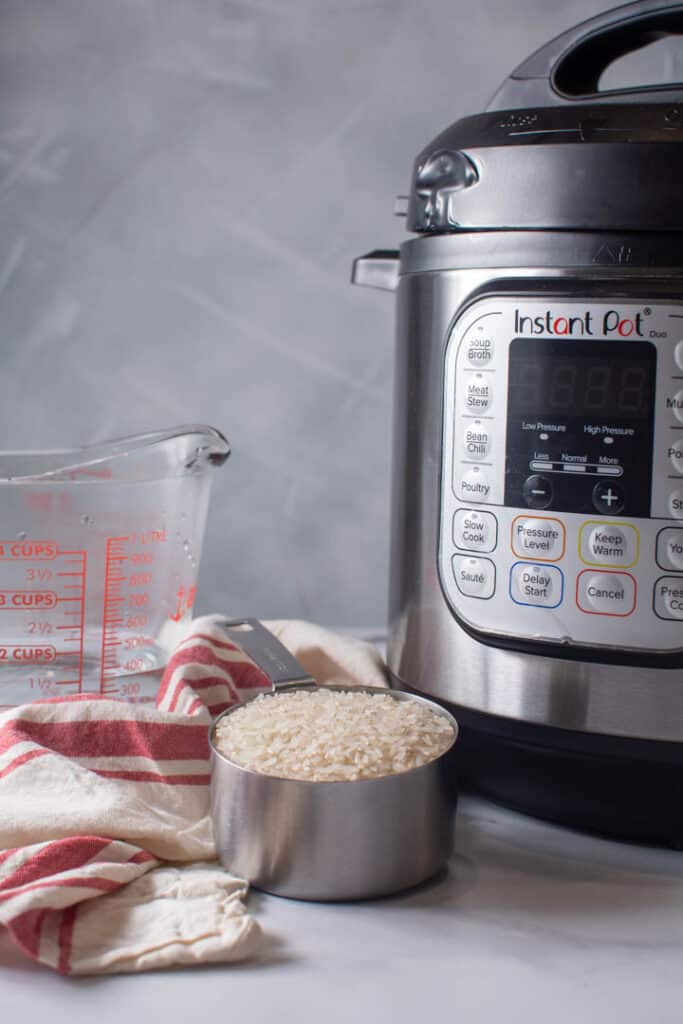
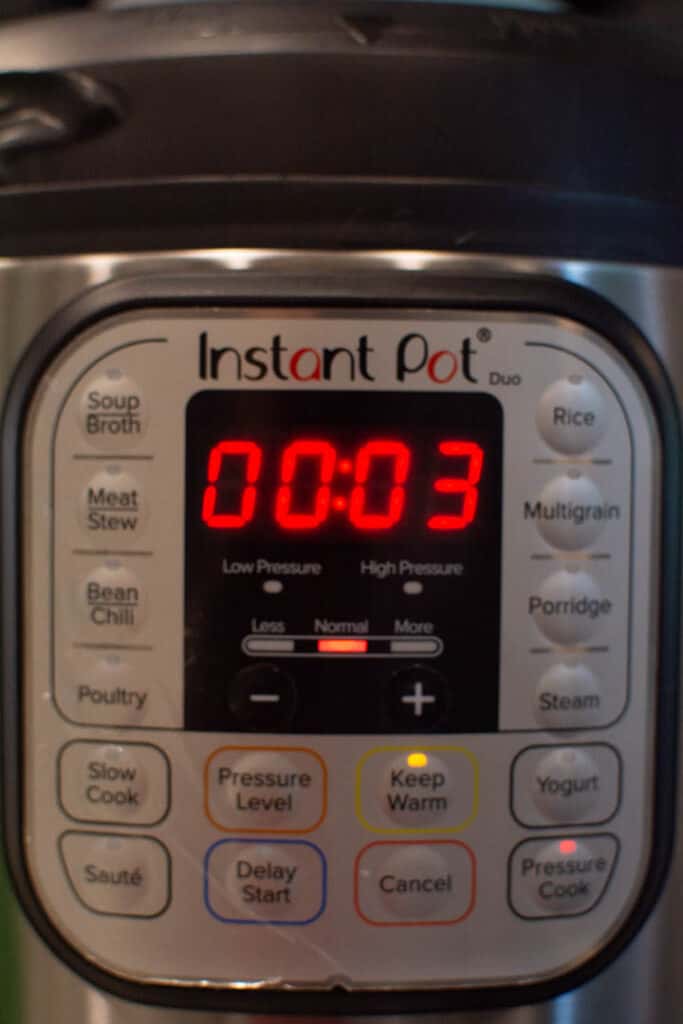
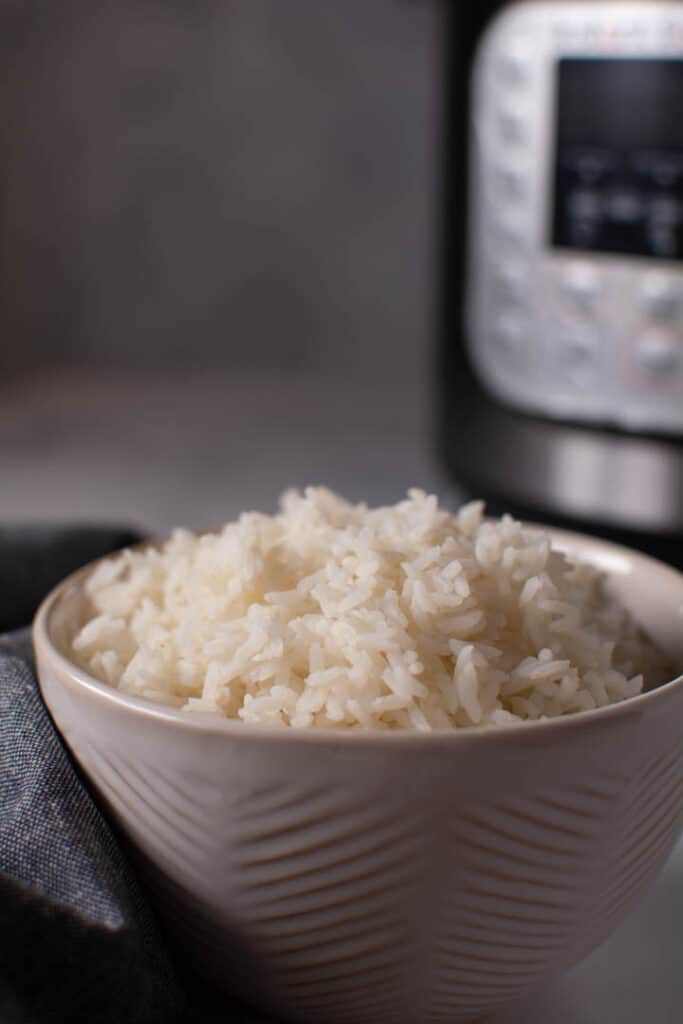
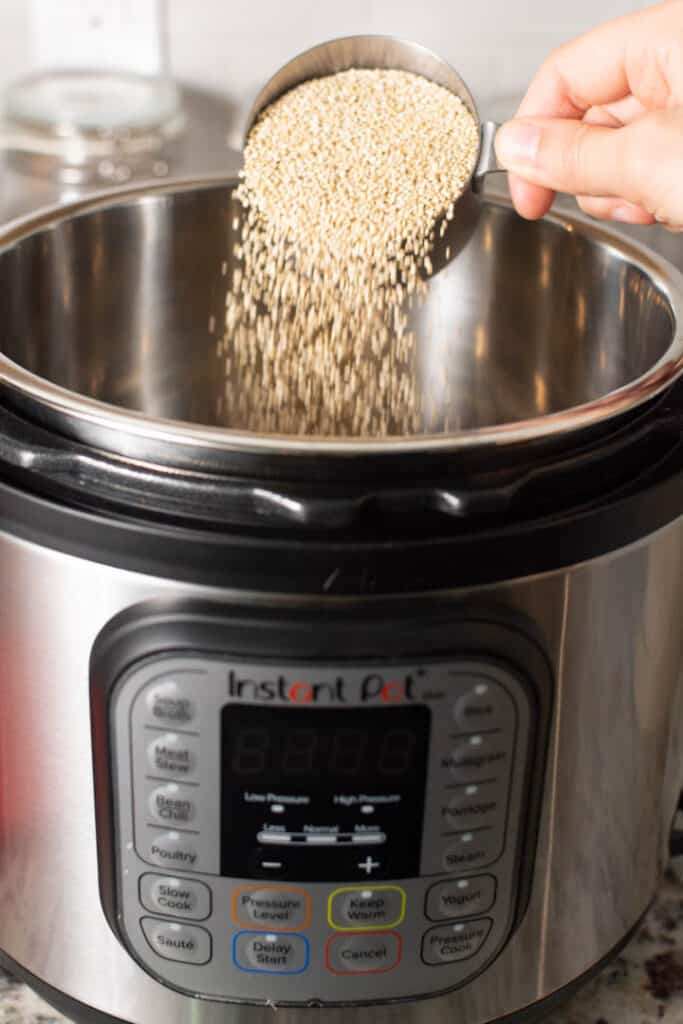
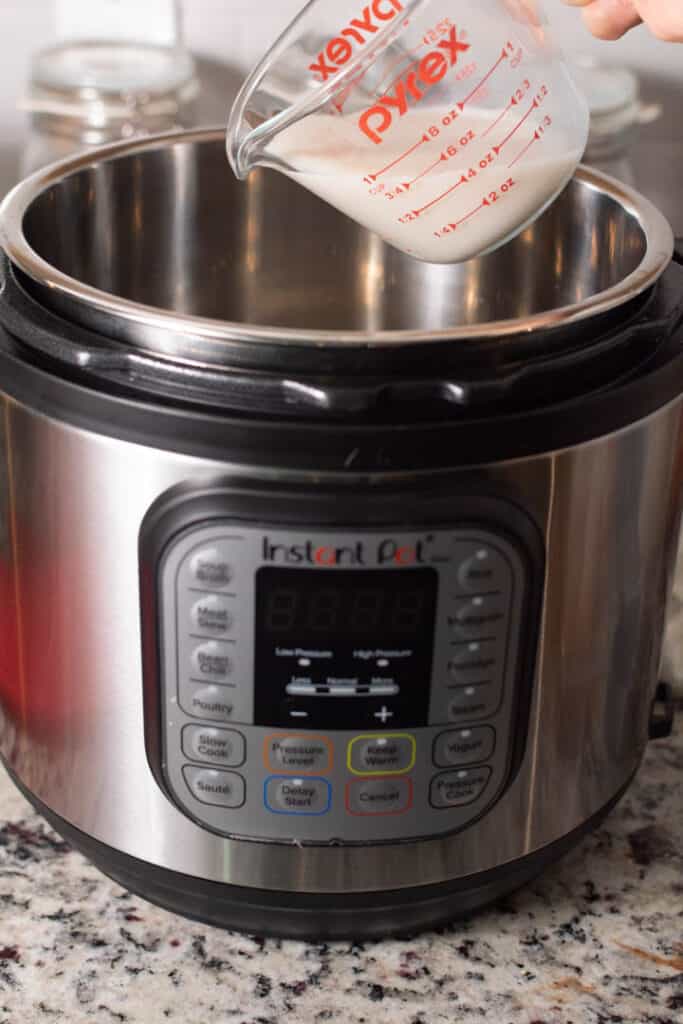
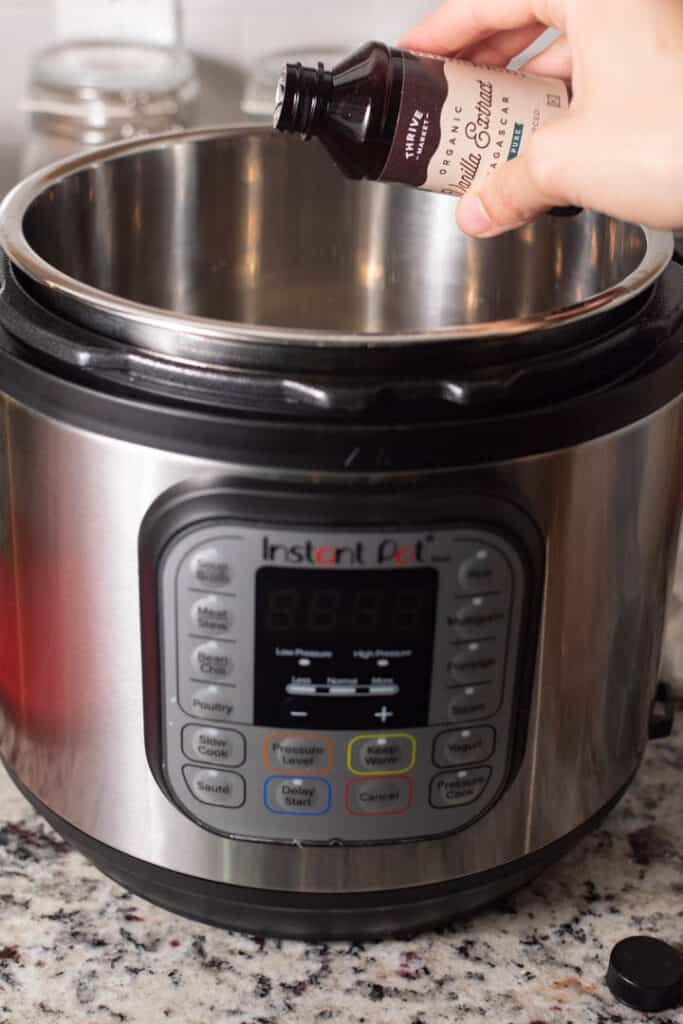
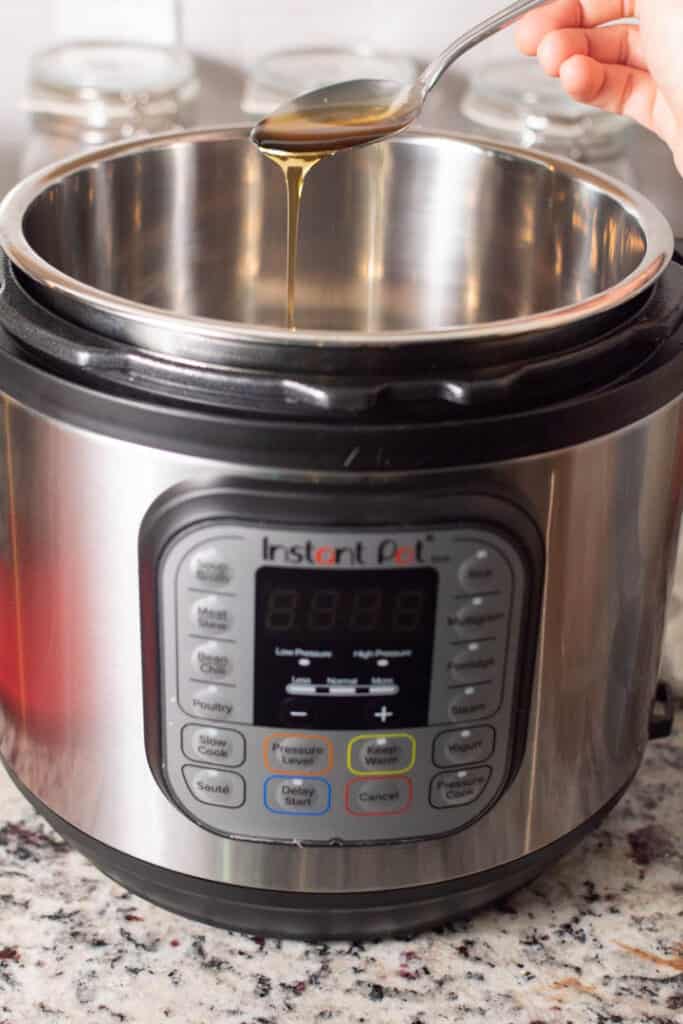
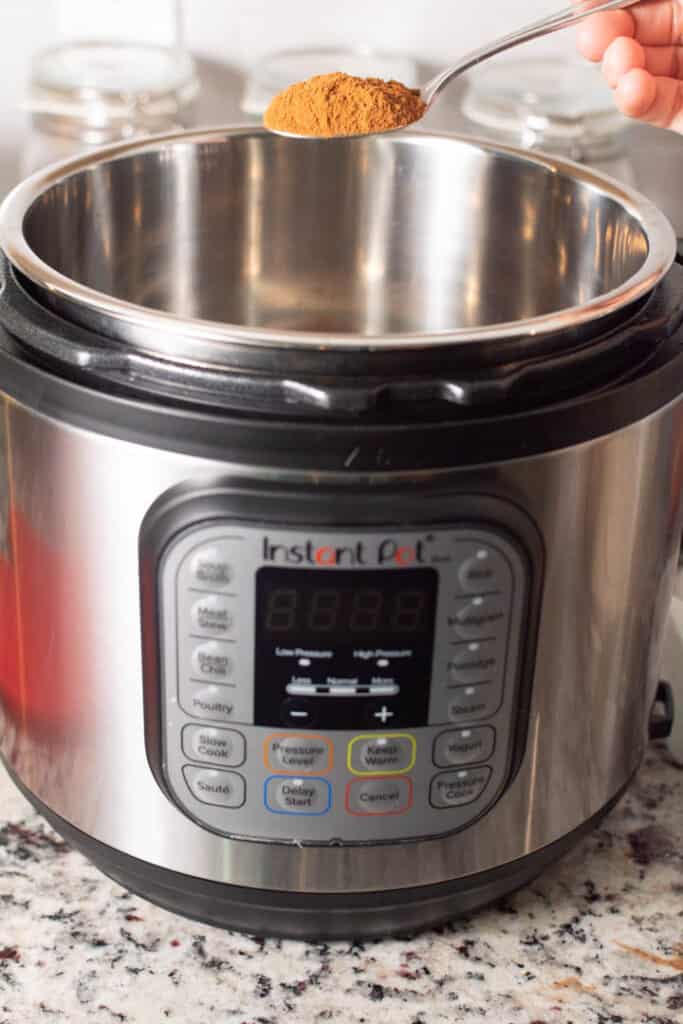
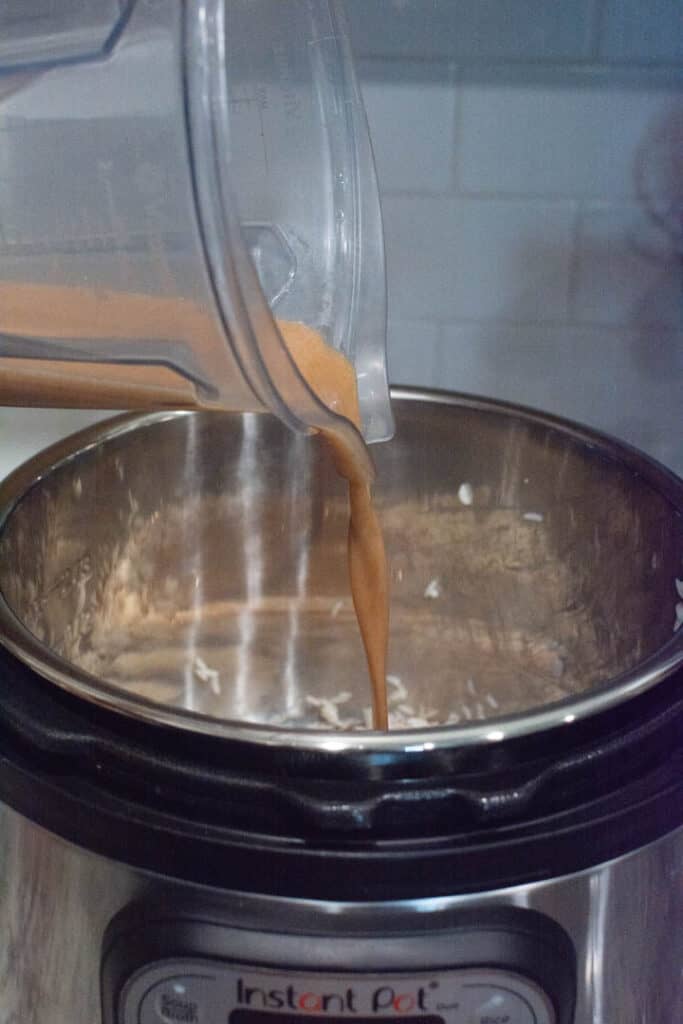
One of the best parts about buddha bowls is that they are relatively simple to make. The first thing you want to do is prepare your grain. In our case rice. Here are simple instructions on cooking rice in an instant pot.
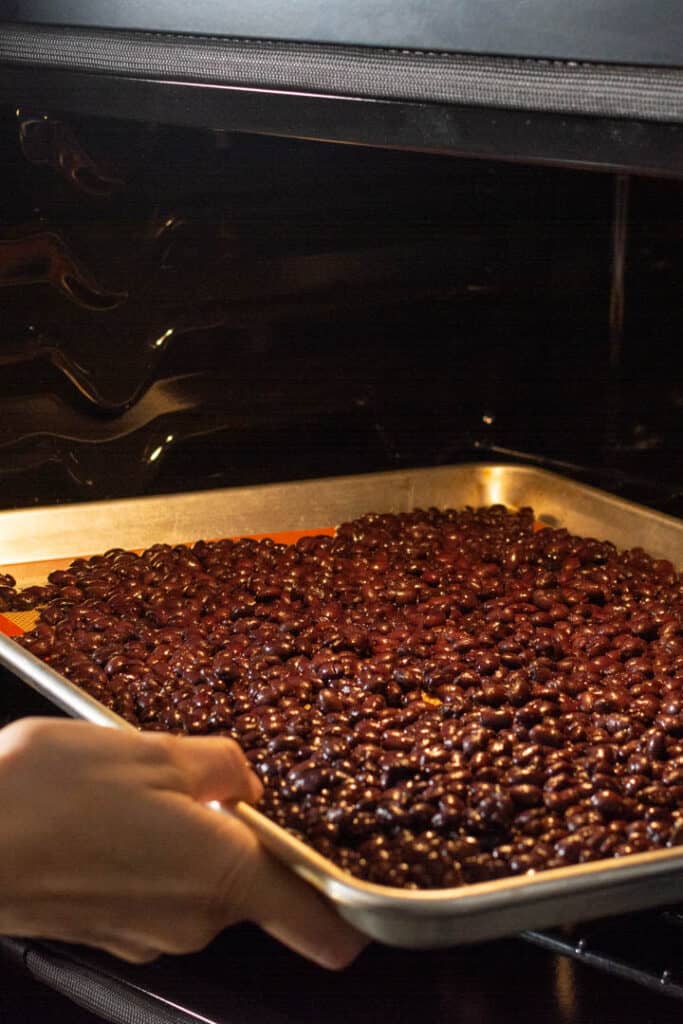
Next, you want to start on the tempeh. Cut it into small strips and cover it with soy sauce. If you are feeling fancy you can also add a little maple or garlic powder. Then air-fry them for 8 to 12 minutes at 325 degrees Fahrenheit.
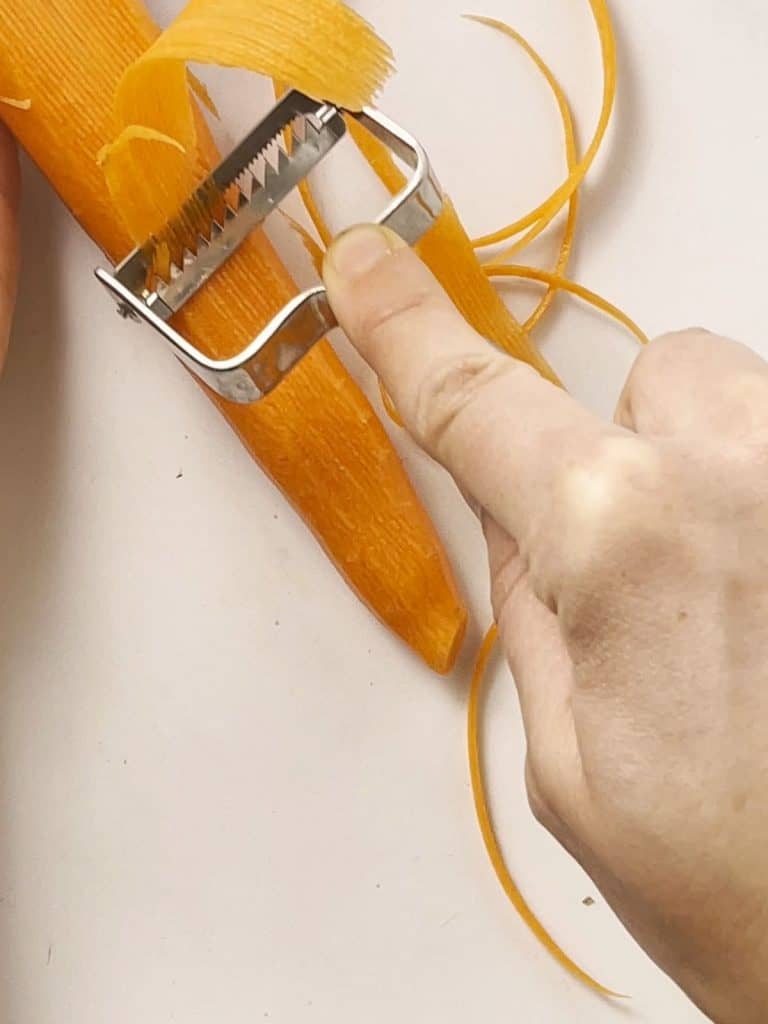
My favorite way to prepare the veggies is to julienne them. I use a peeler like the one shown in the pictures. I usually cut the strips in half but I forgot to before I took the pictures.
Hot tip: you can use scissors to cut things up after they are added to the bowl if you need to! Works like a charm.

I forgot to add my cabbage and snow peas. But it was still delicious!
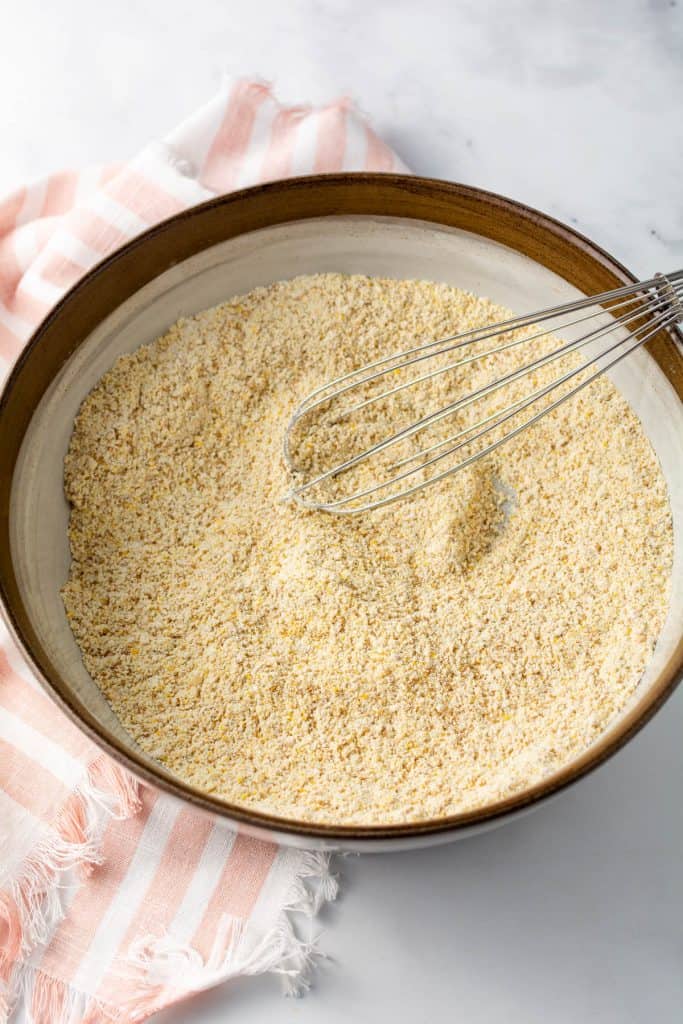
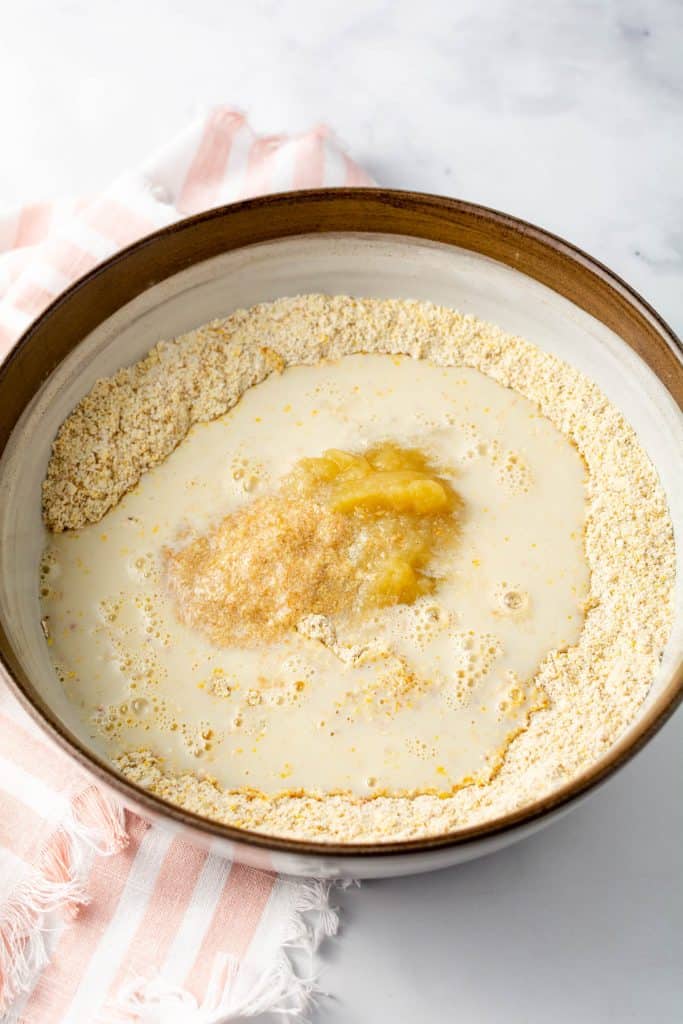
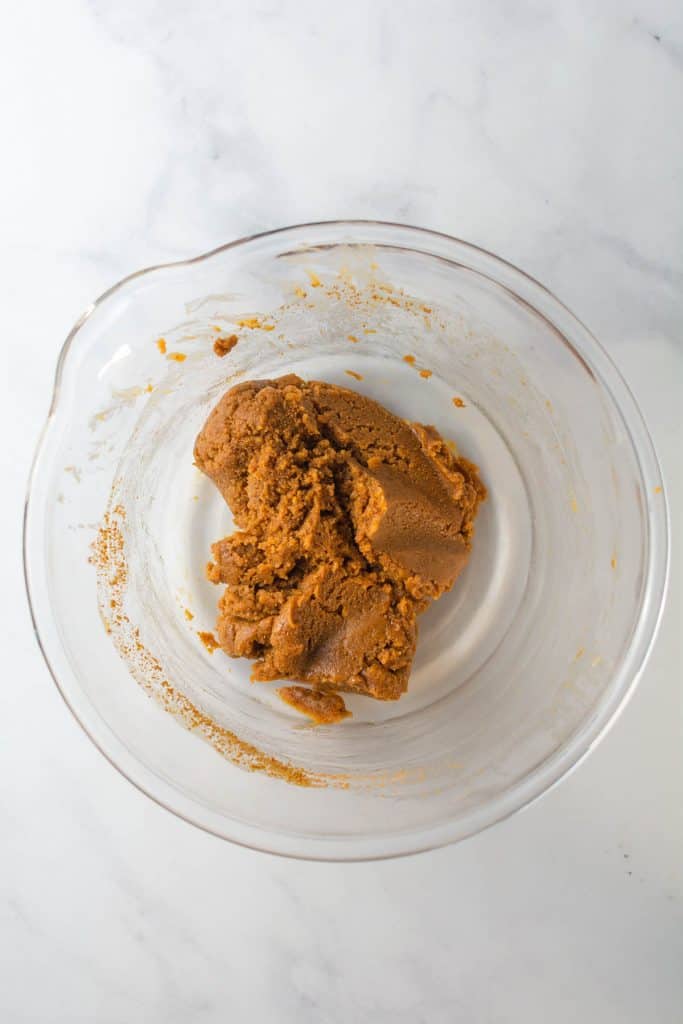
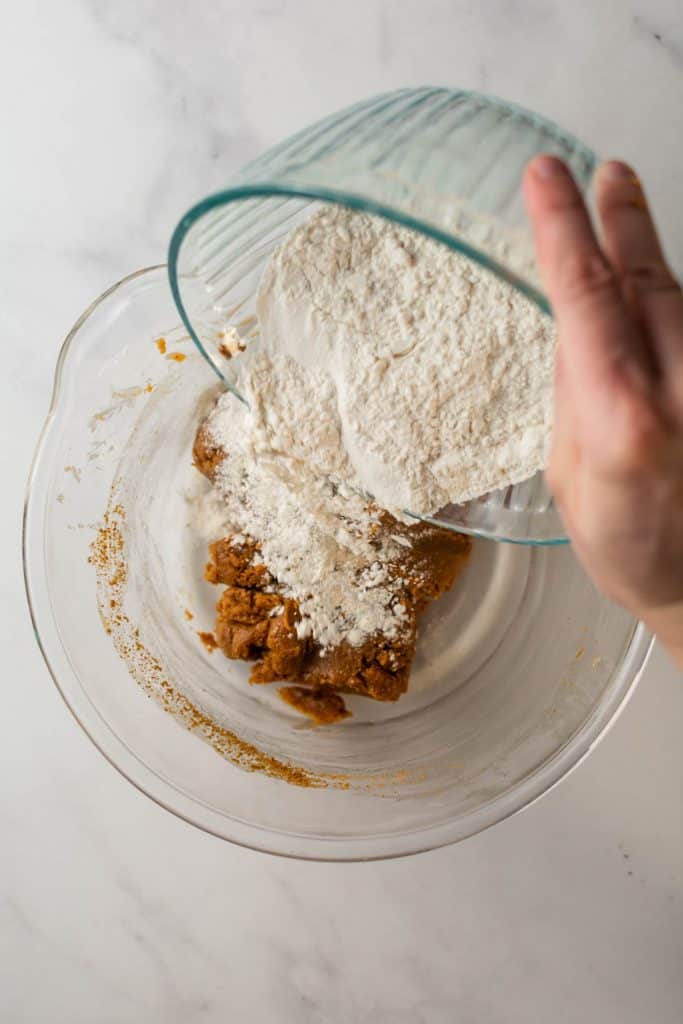
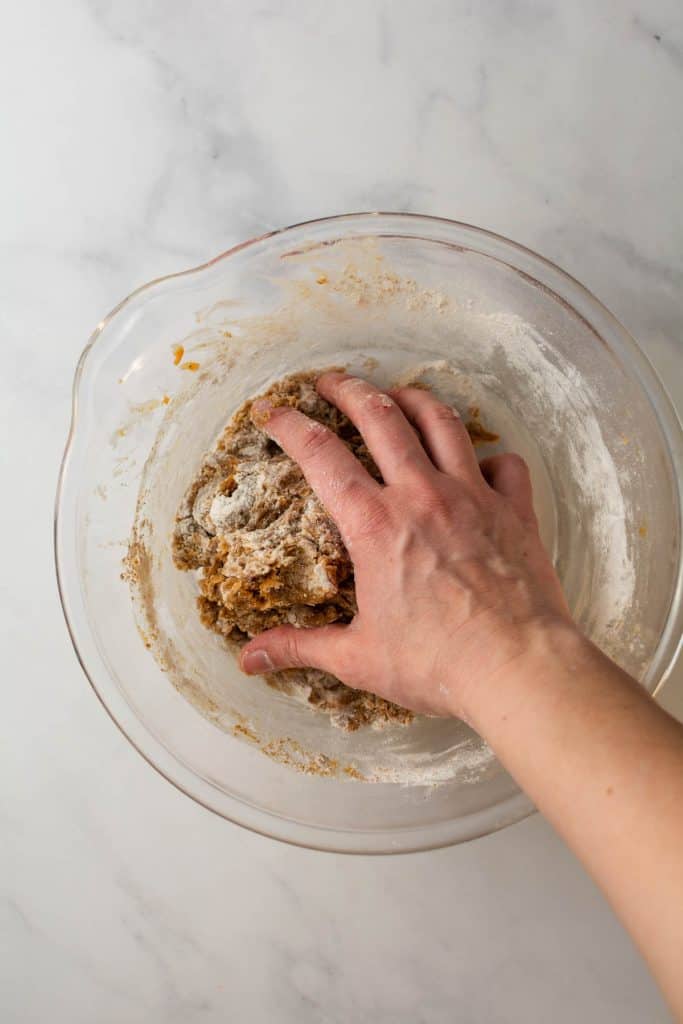
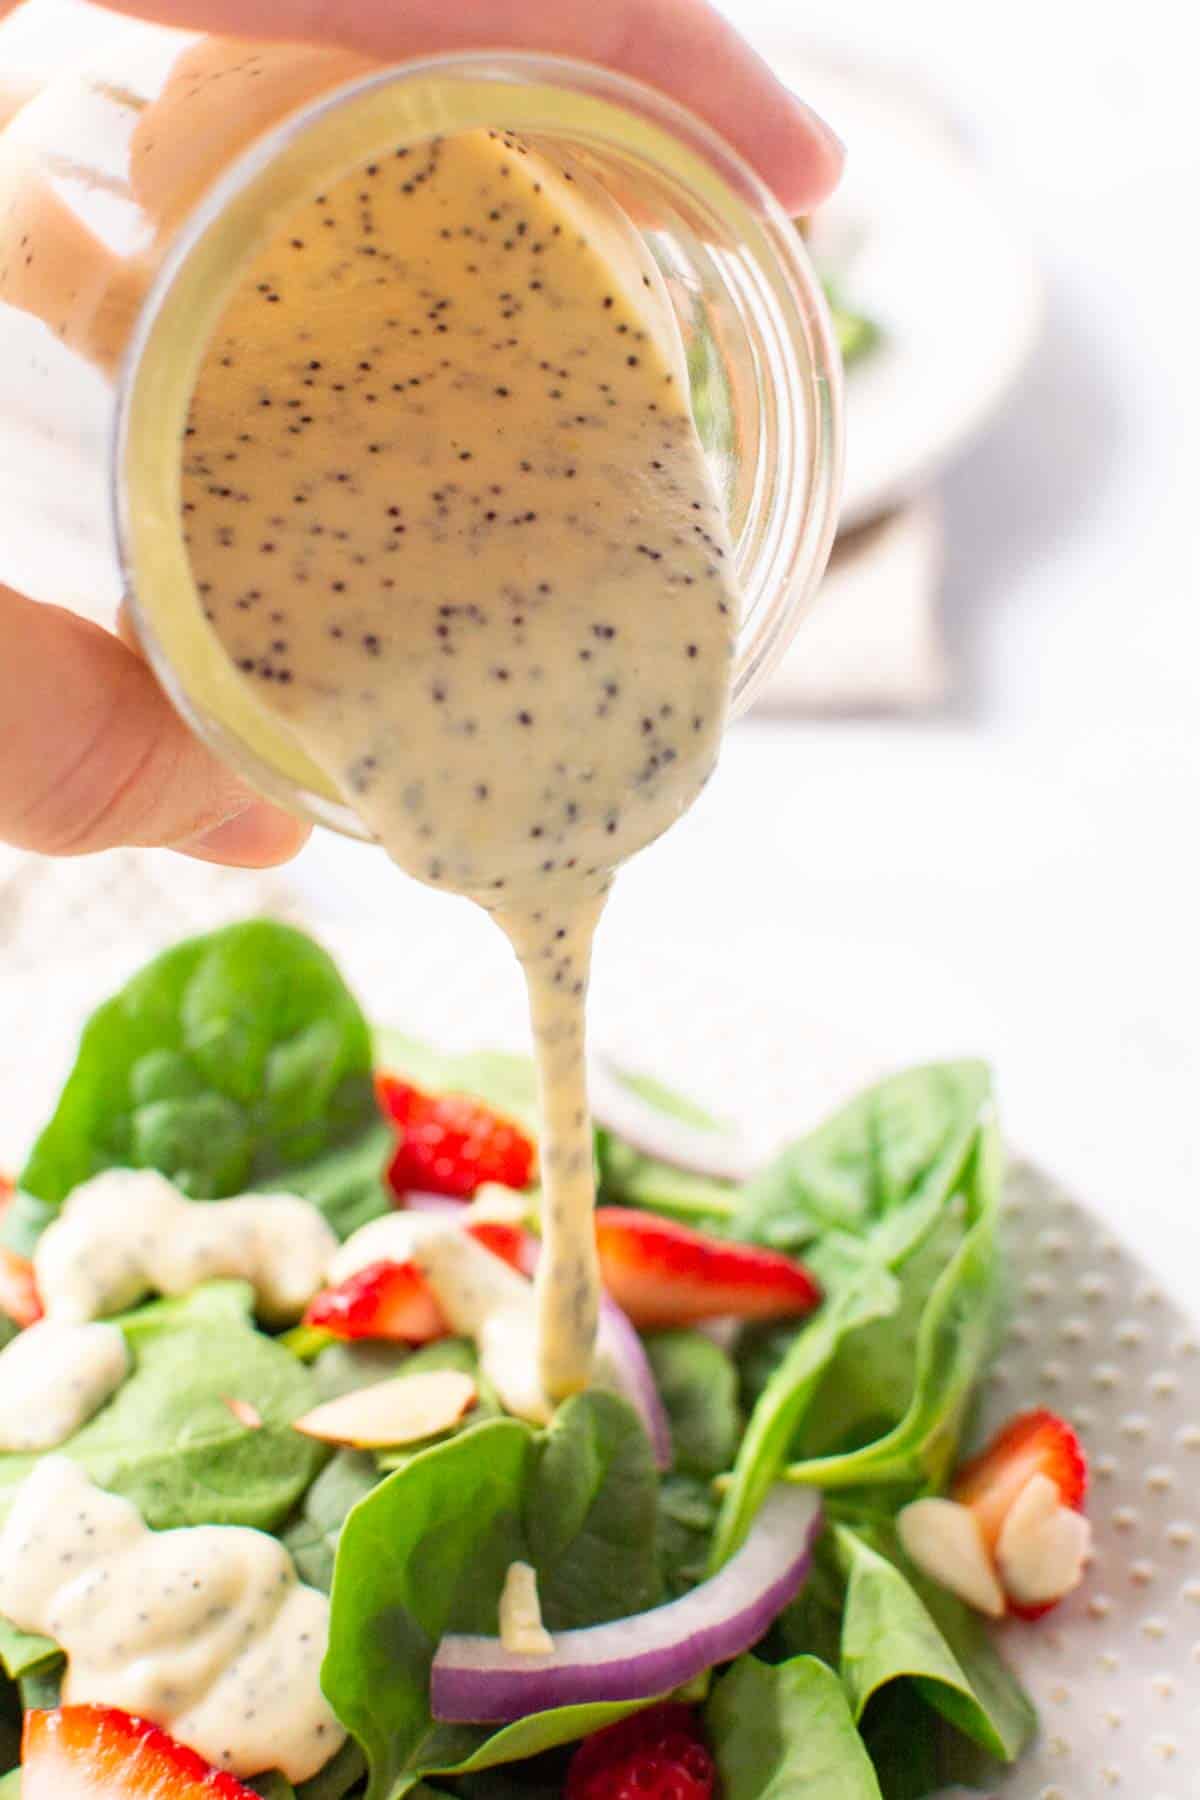
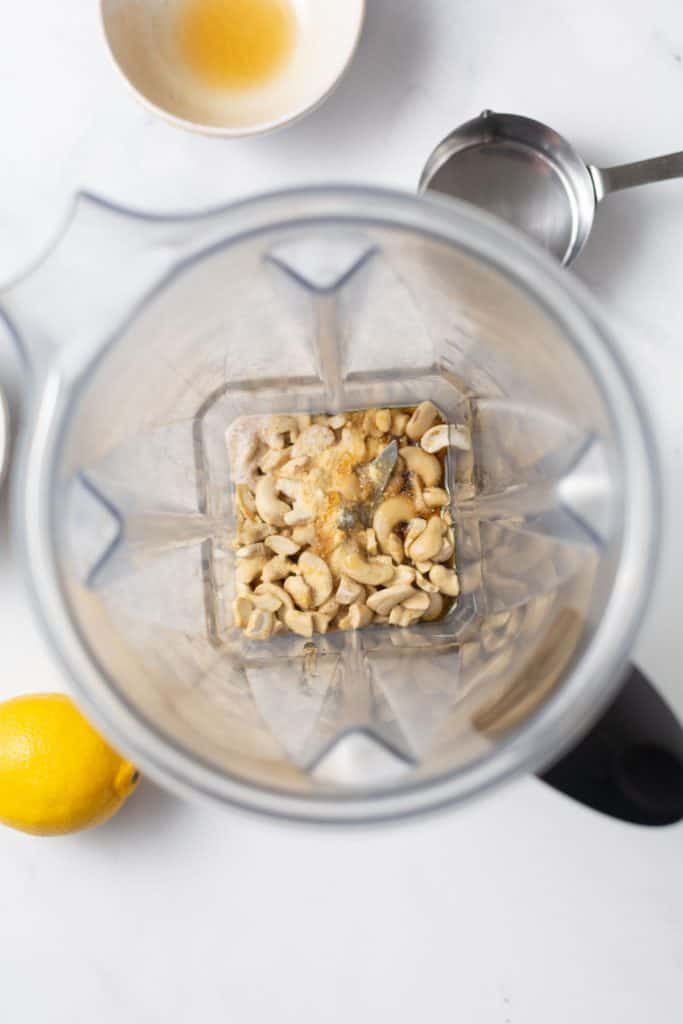
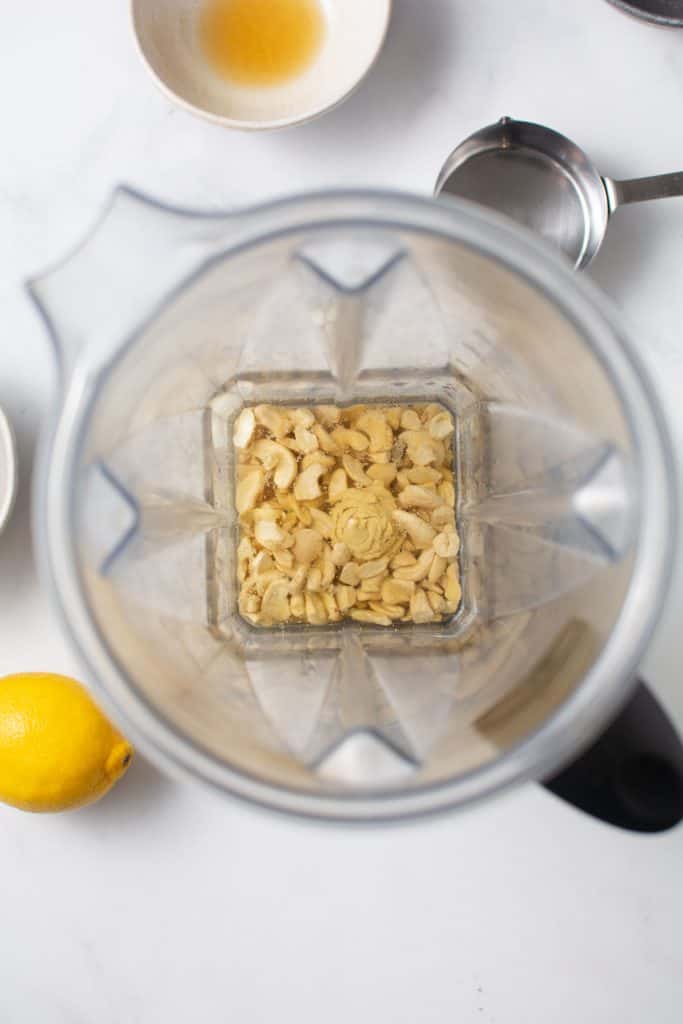
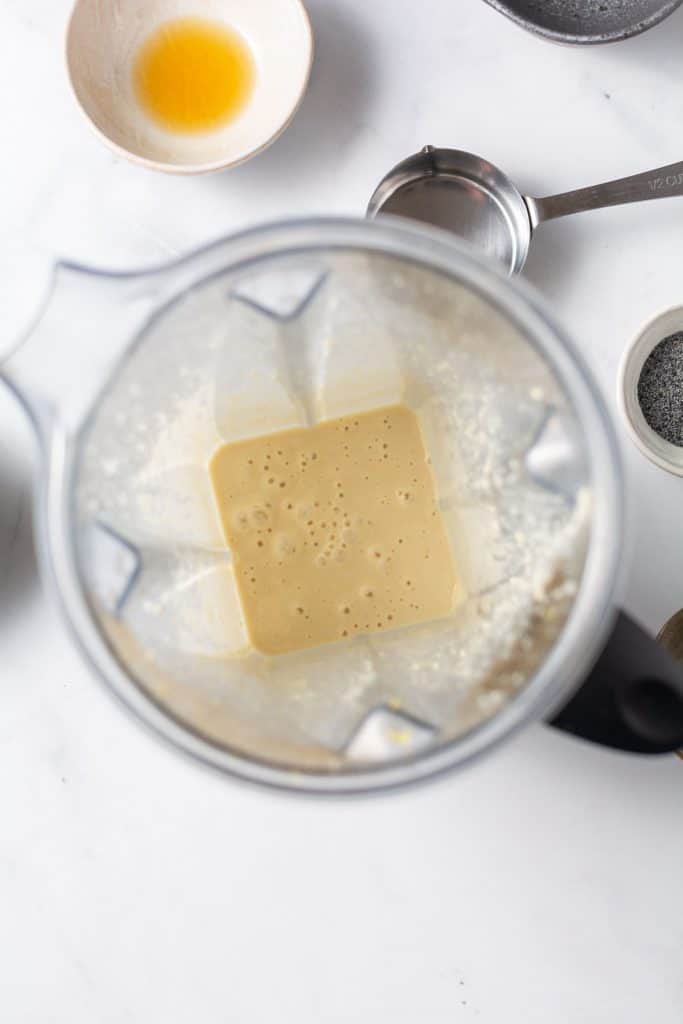
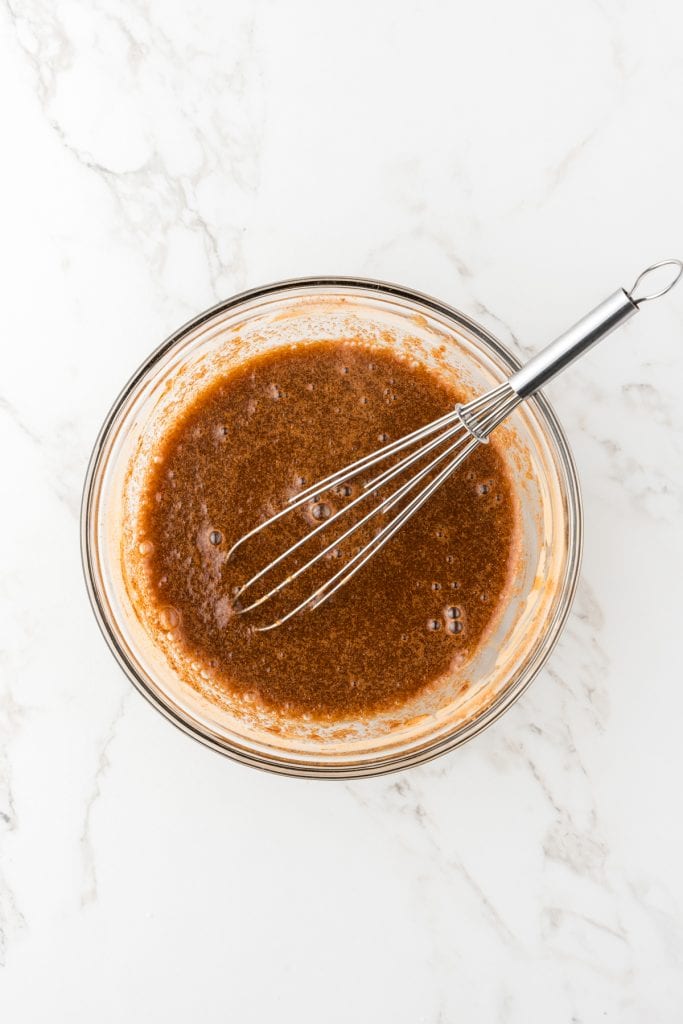
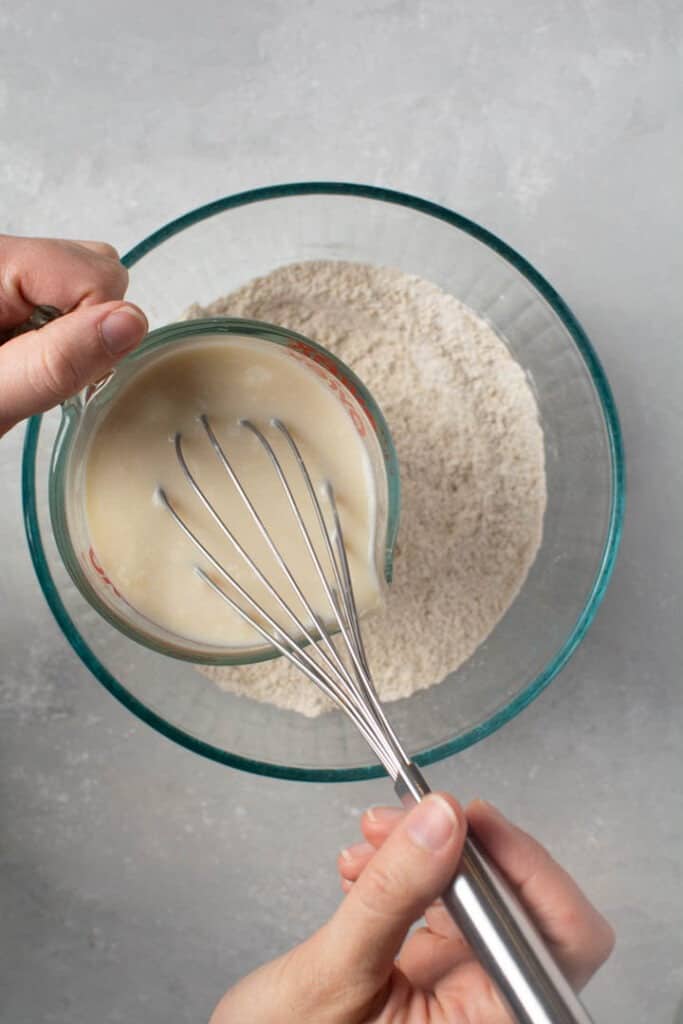
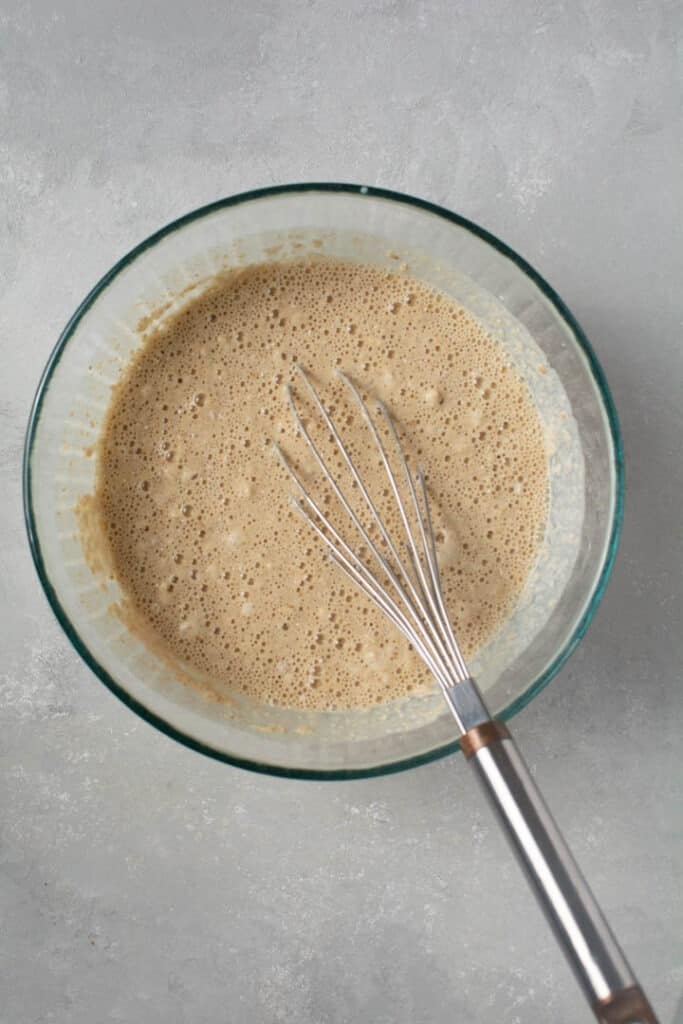
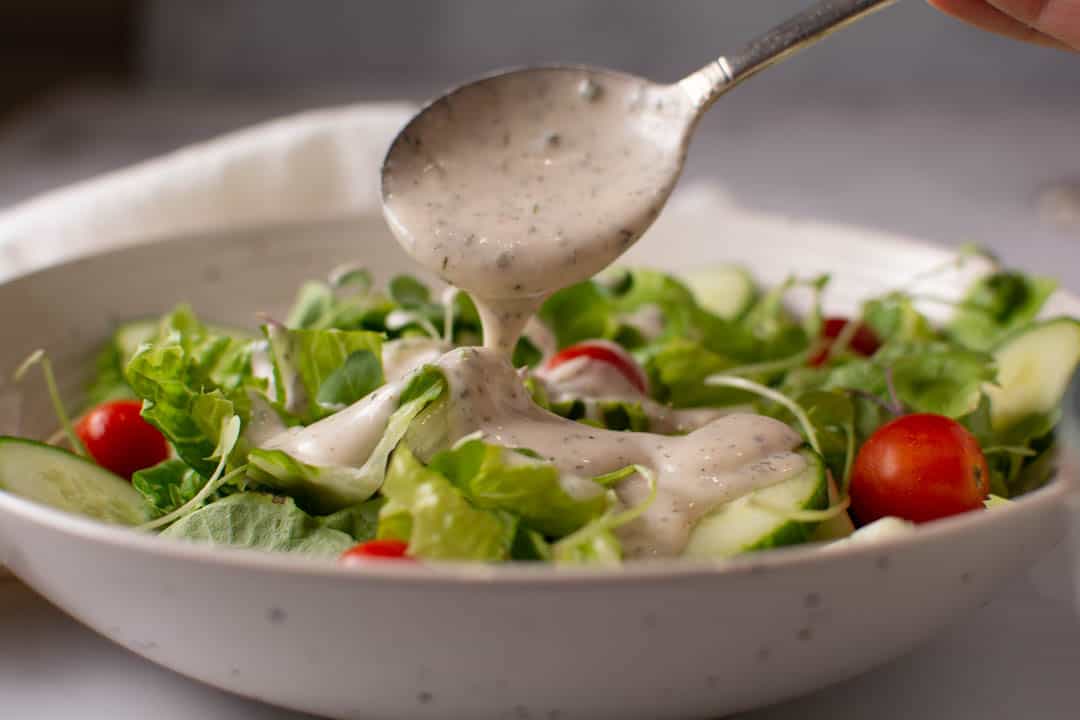
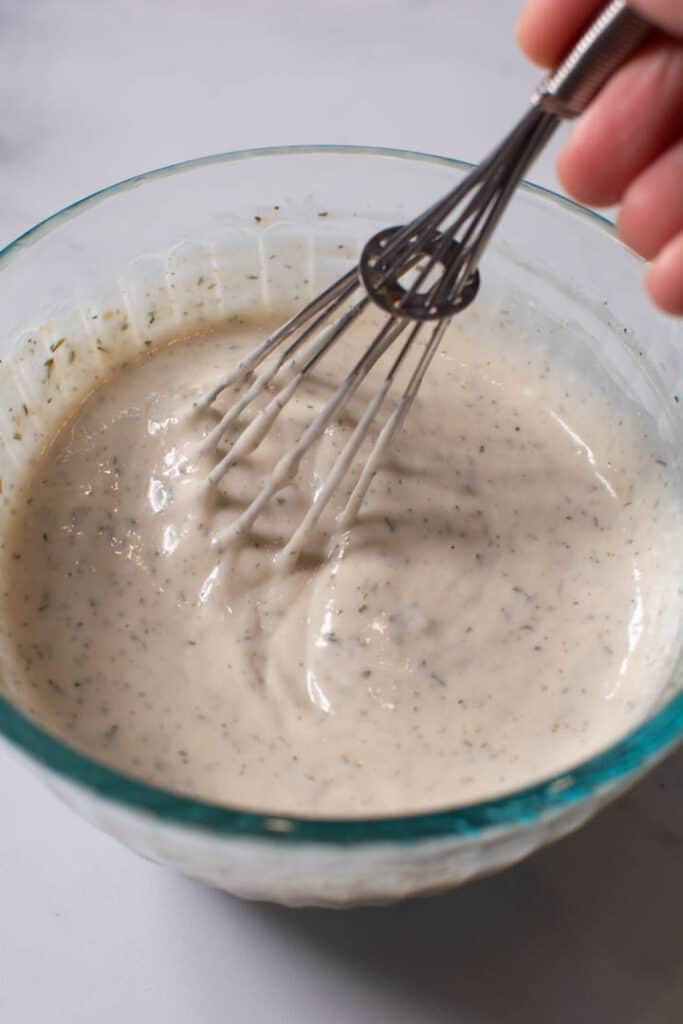
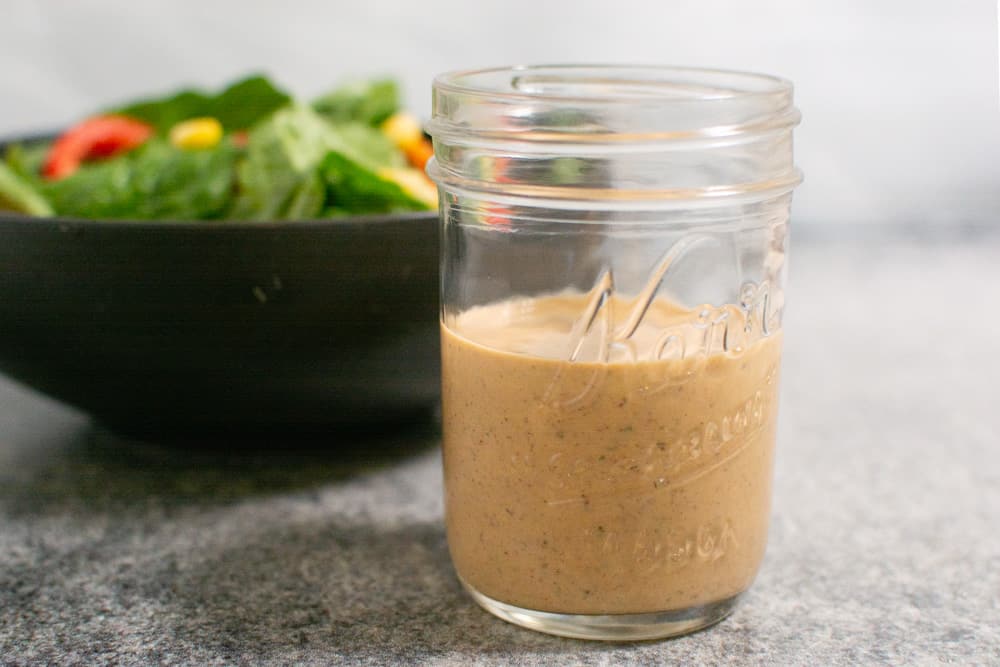
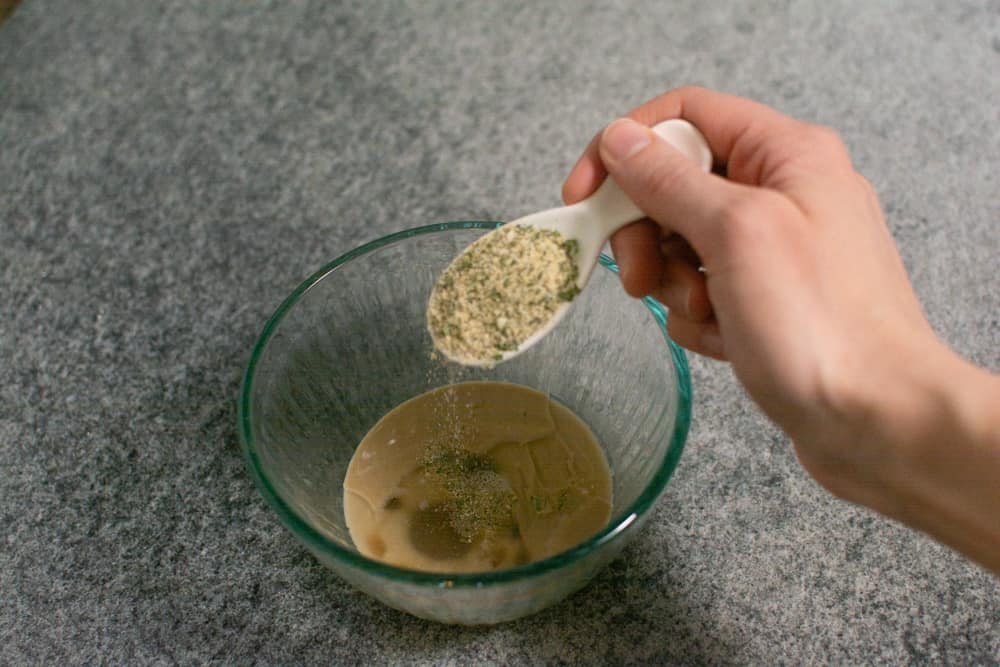
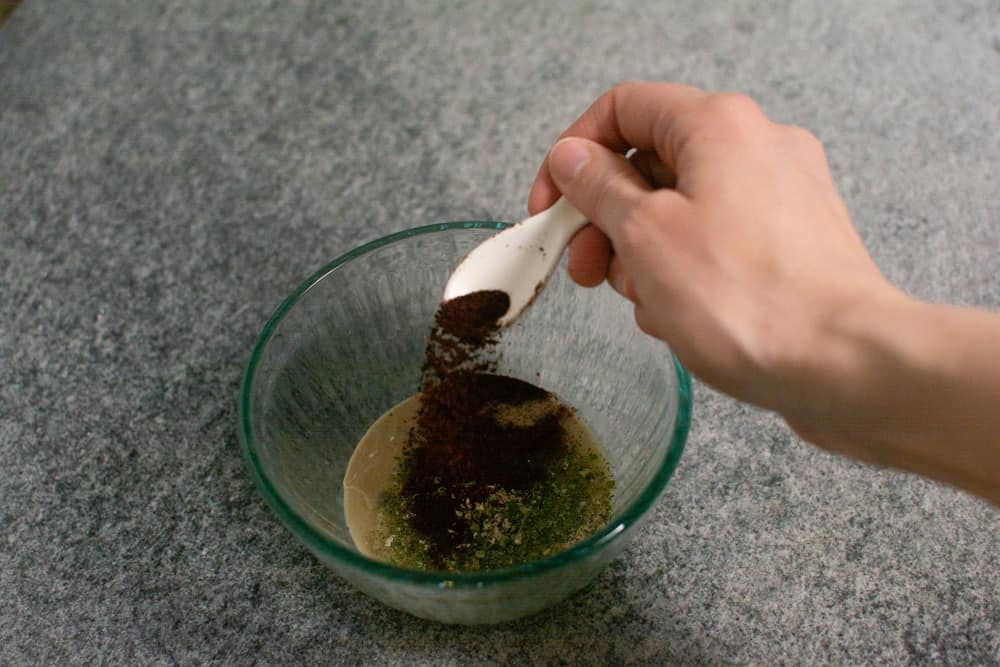
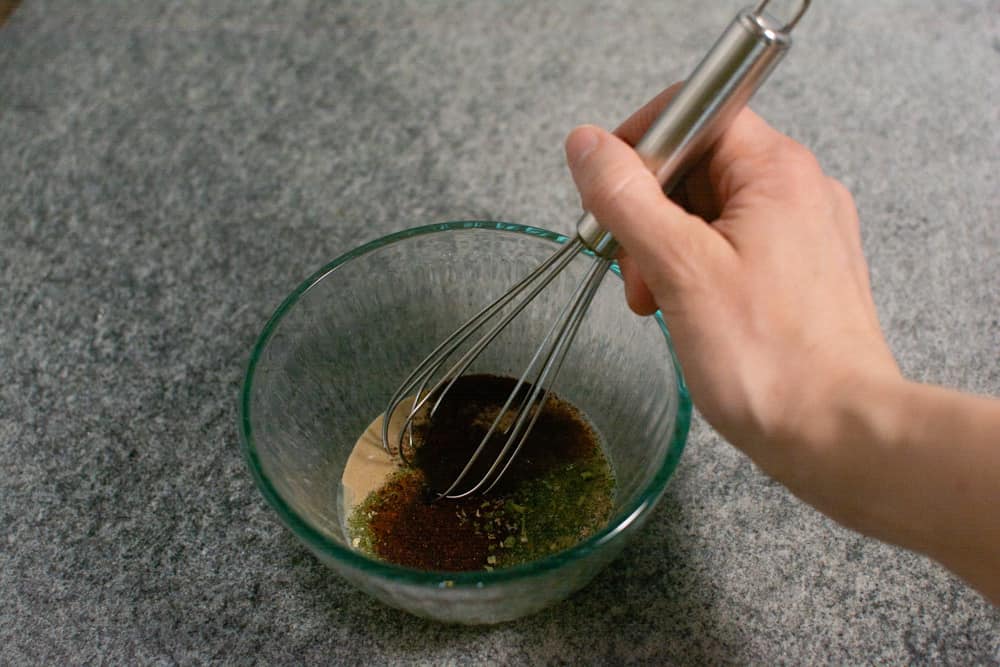
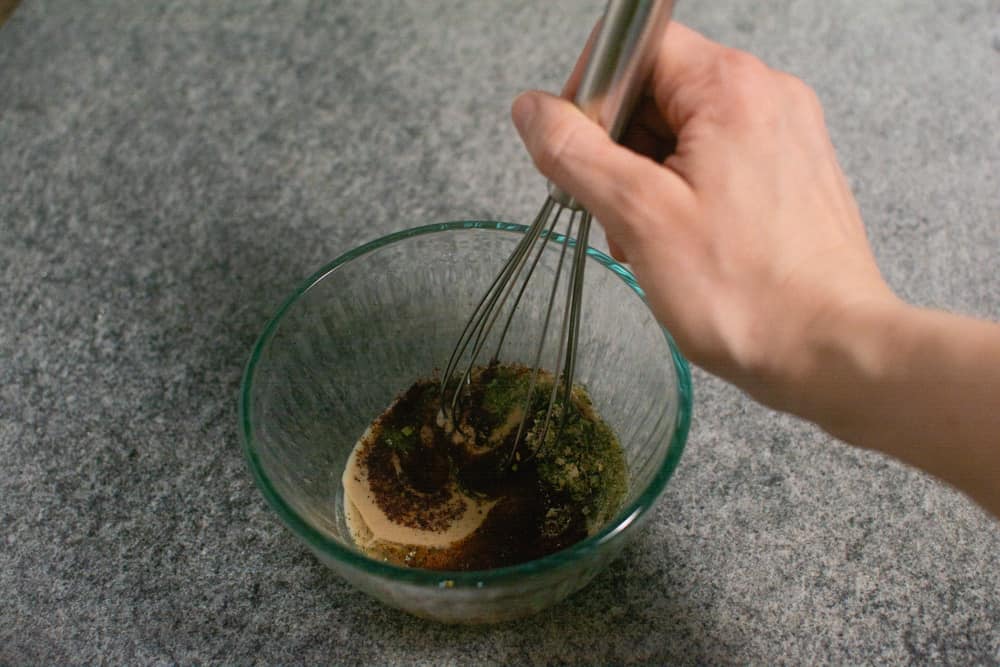
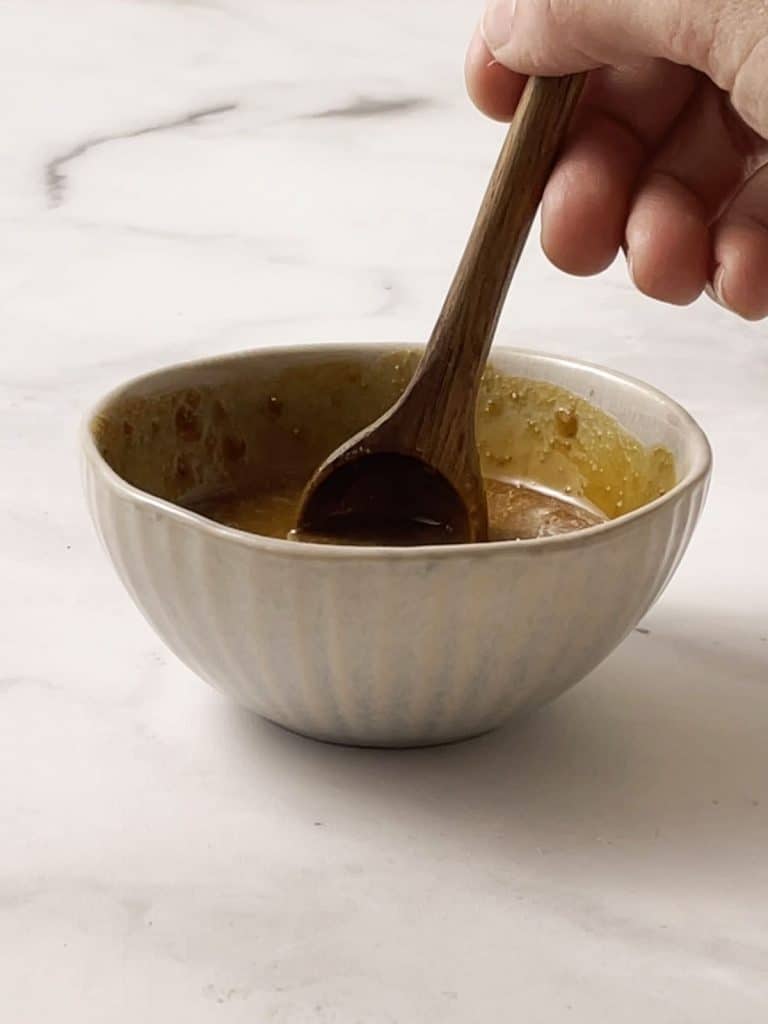
Last, prepare your sauce. Just mix the sauce ingredients together. So easy!
When assembling your bowls, add the rice first, then add your veggies. You can try to make it look pretty if that’s your jam, but it’s not required! Top it with sauce and a few sesame seeds and dig in!
Storage
If you have leftovers you can store them in the fridge for about a day. However, if you want to make this ahead of time as meal prep, you can add everything to your container except for the sauce. Separately they can be stored for up to 5 days.
If you like your rice warm, you can store it in a separate container as well and heat it before you are ready to eat. Then just add the sauce when you are ready to eat!
Top Tips
Taste your sauce before you add it to your food. If you want it sweeter or spicier you can adjust it to your liking.
When you are ready to add your sauce, add a little at a time until you have as much as you want. You don’t need to use all of the sauce in the recipe unless you like it that way. Personally, the sauce is my favorite part so I always load up!

Asian Buddha Bowl
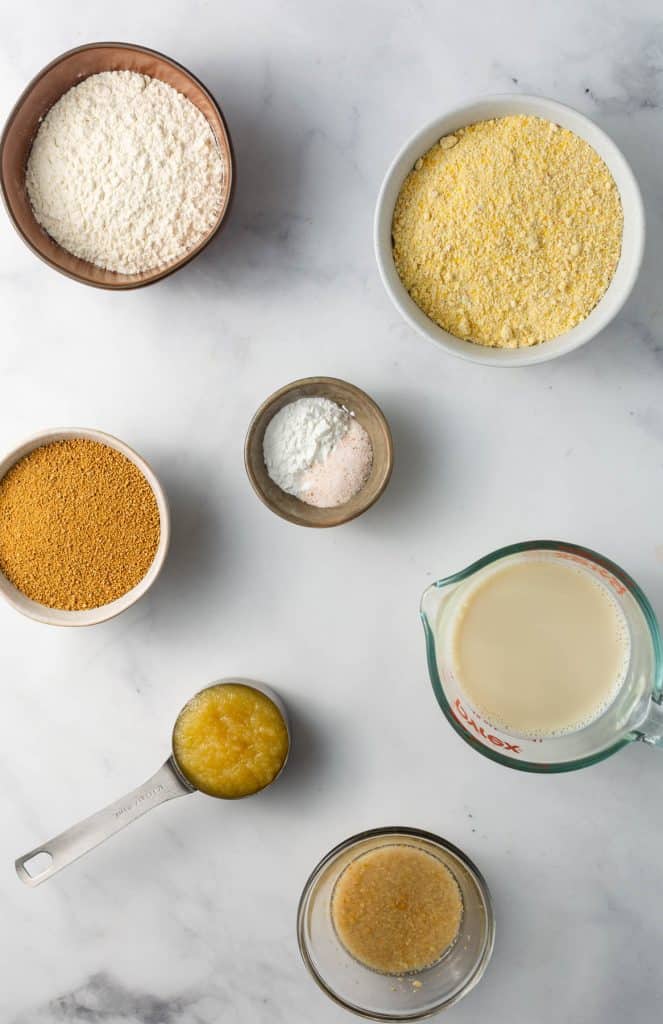
Ingredients
- 1 cup rice white or brown
- 1 medium carrot
- 1 small cucumber
- ½ cup shaved cabbage red or green
- small handful bean sprouts
- ½ avocado
- 1 teaspoon sesame seeds
- 3 ounces tempeh
- 1 tablespoon soy sauce
Peanut Sauce
- 2 tablespoon peanut butter power or natural peanut butter
- 2 tablespoon soy sauce
- 1 tablespoon maple syrup
- 1 tablespoon lime juice or rice vinegar
- 2 tablespoon fresh grated ginger or ½ teaspoon ground
- ½ teaspoon chili sauce
Instructions
- Prepare your rice.
- Cut tempeh into strips and brush with soy sauce.
- Air-fry tempeh for 8-12 minutes at 325° F.
- Julienne the carrot and cucumber.
- Shave the cabbage.
- Slice the avocado.
- Add cooked rice to bowl along with carrot, cucumber, cabbage, avocado, bean sprouts and tempeh.
- Top with sauce and sesame seeds.
Sauce
- Mix all ingredients together until well combined.